Set Up NxaTel with Confidence
Follow this step-by-step onboarding guide to connect your tools, sync contacts, and start managing customer communication in one place.
13 setup steps · ~15 min setup time · 100% auto-sync after completion
Quick-Start Overview
Connect NxaTel with HubSpot in minutes — unify your communications and CRM to log calls, sync contacts, and track every customer interaction automatically.
Click-to-Call from HubSpot
Make calls directly from any contact record in HubSpot using your NxaTel numbers.
Automatic Contact Sync
New contacts added in HubSpot appear instantly in NxaTel — no manual import needed.
Activity Logging
Every call, SMS, and voicemail is automatically logged to the HubSpot contact timeline.
Real-Time Reporting
Track call volume, outcomes, duration, and agent performance directly in HubSpot.
Estimated Setup Time
~15 min
Most teams complete setup in one session
Before You Start
- NxaTel admin account access
- HubSpot Super Admin access
- List of phone numbers to connect
- Team members to include in the integration
Watch the Full Setup Walkthrough
Prefer to watch instead of read? Follow the full walkthrough here.
Step-by-Step Setup
Follow each step in order to connect NxaTel with HubSpot and start syncing your communications.
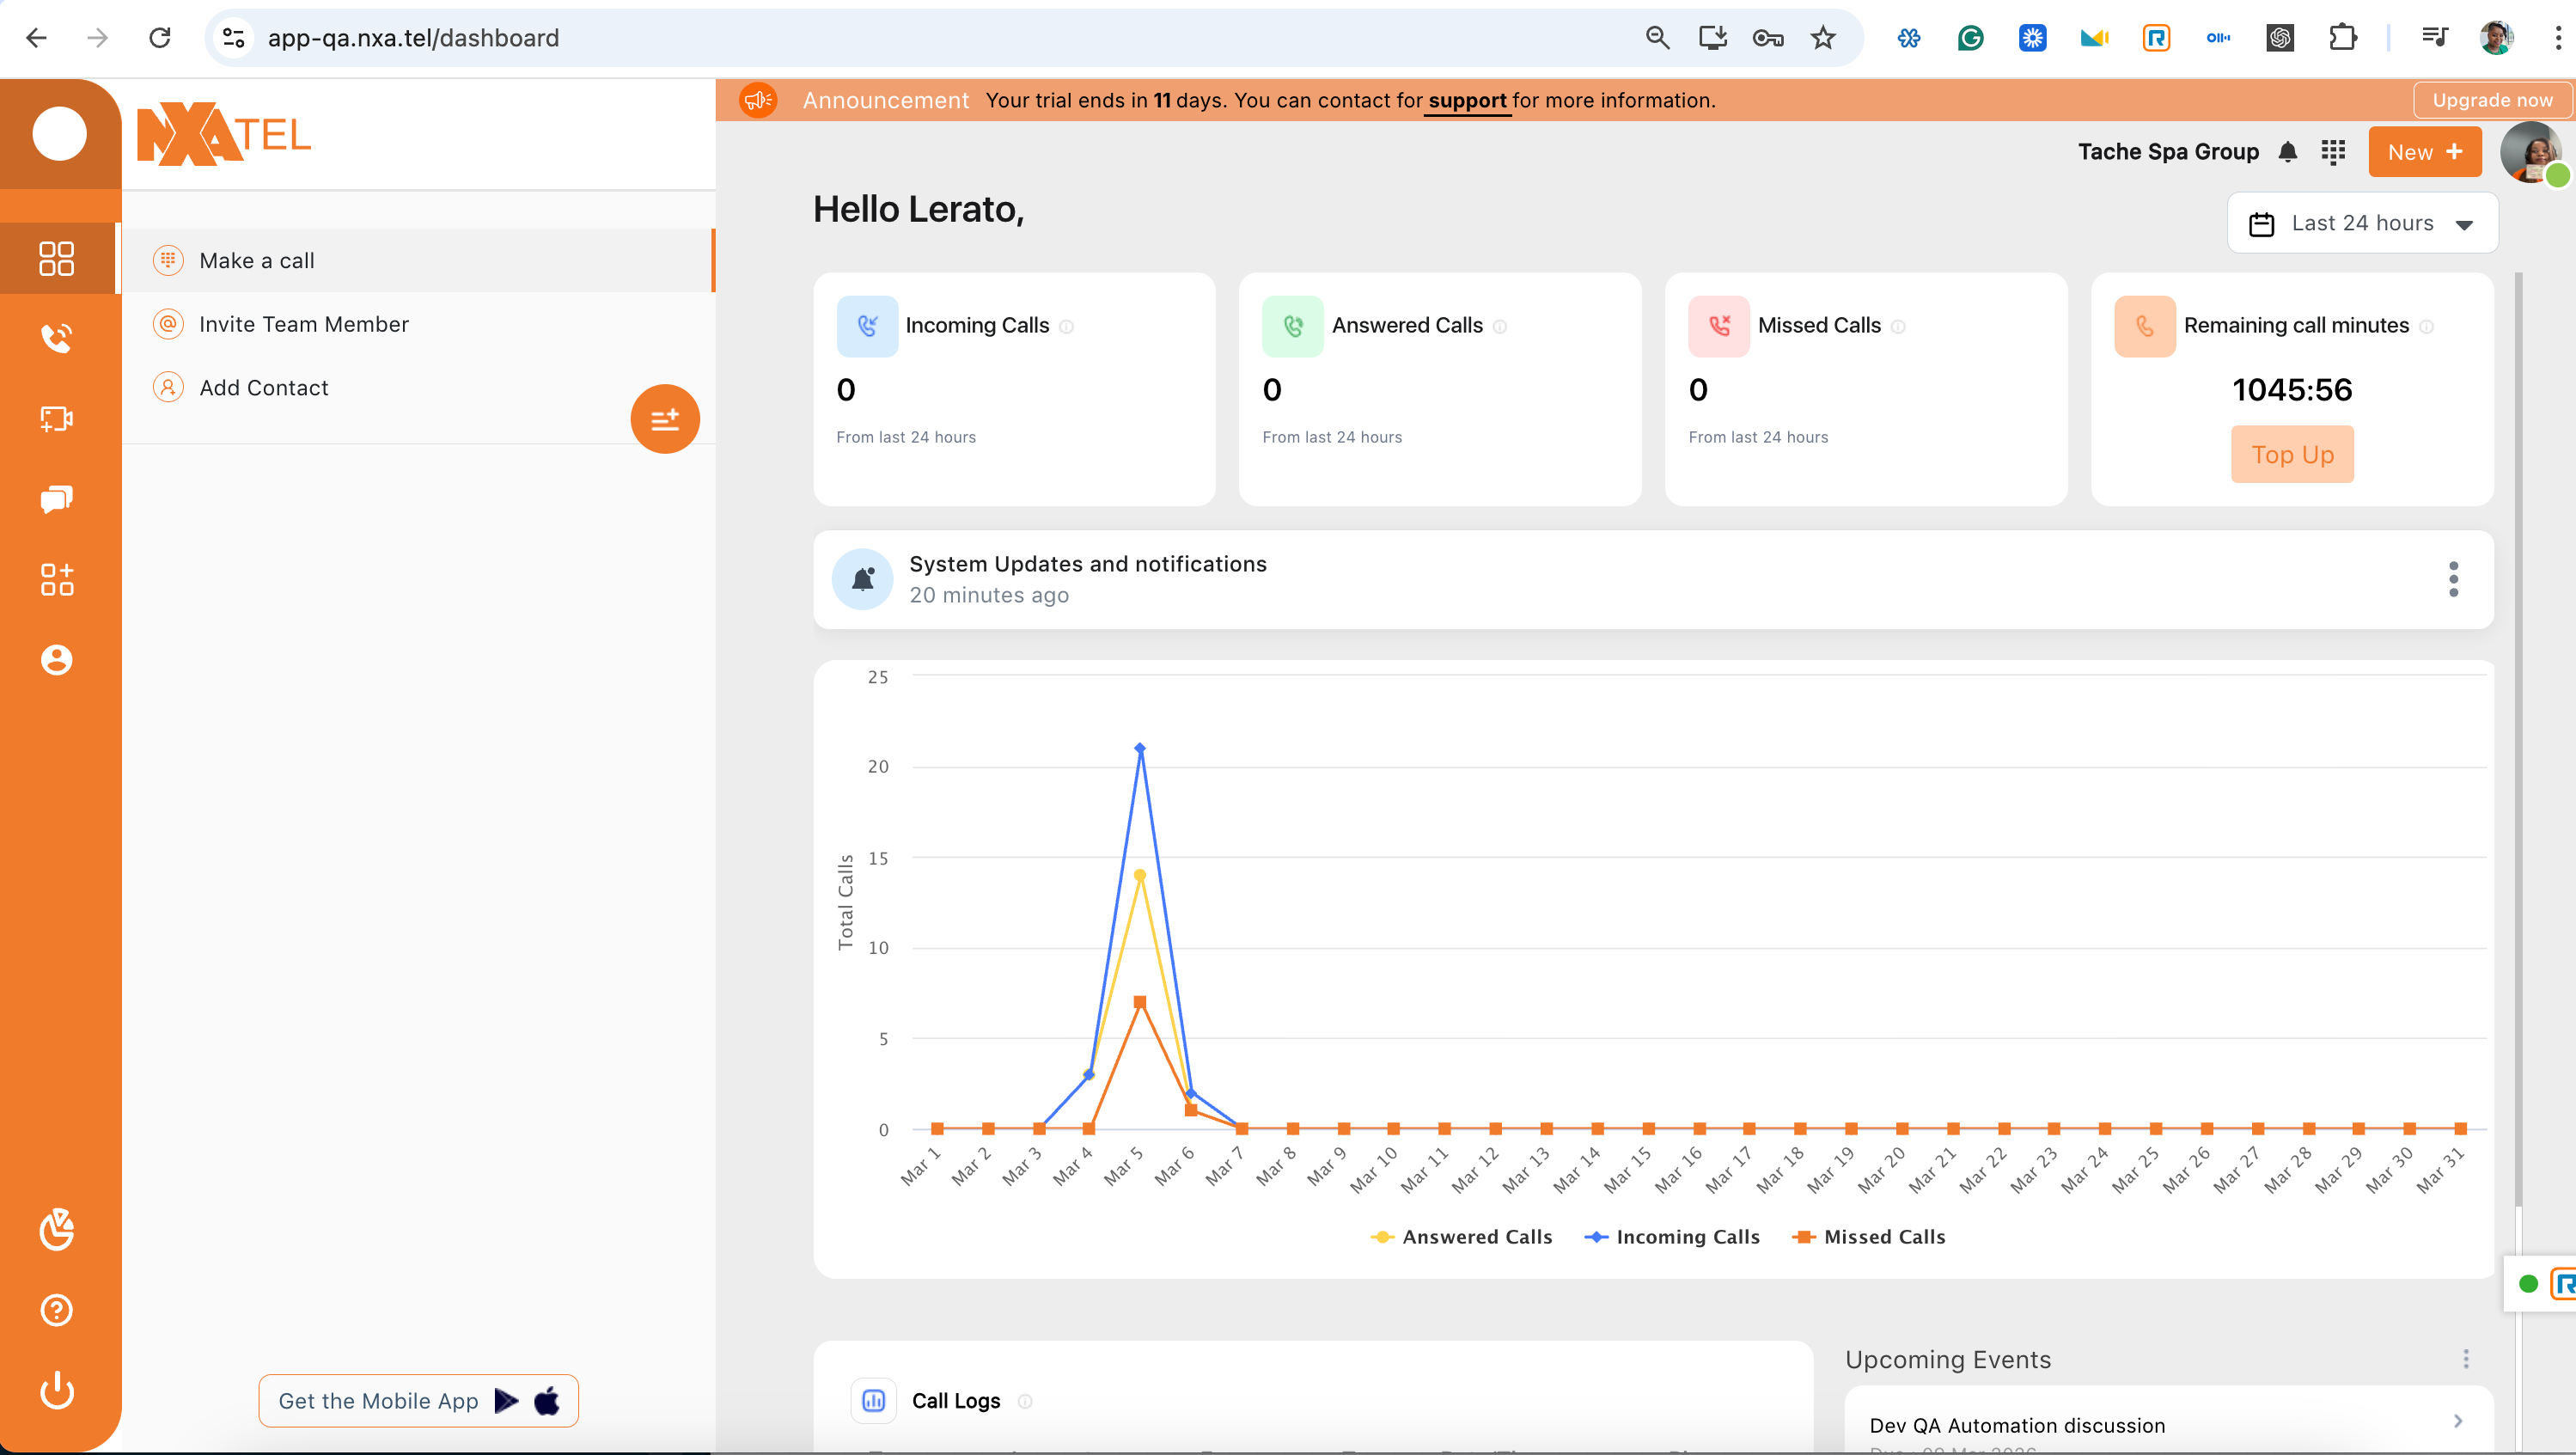
Log into NxaTel
Start by accessing your NxaTel admin account.
- 1Navigate to the NxaTel login page
- 2Enter your username and password
- 3Access the Dashboard — this is where all integrations are managed
Make sure you are logged in as an Admin. Only admins can install and configure integrations.
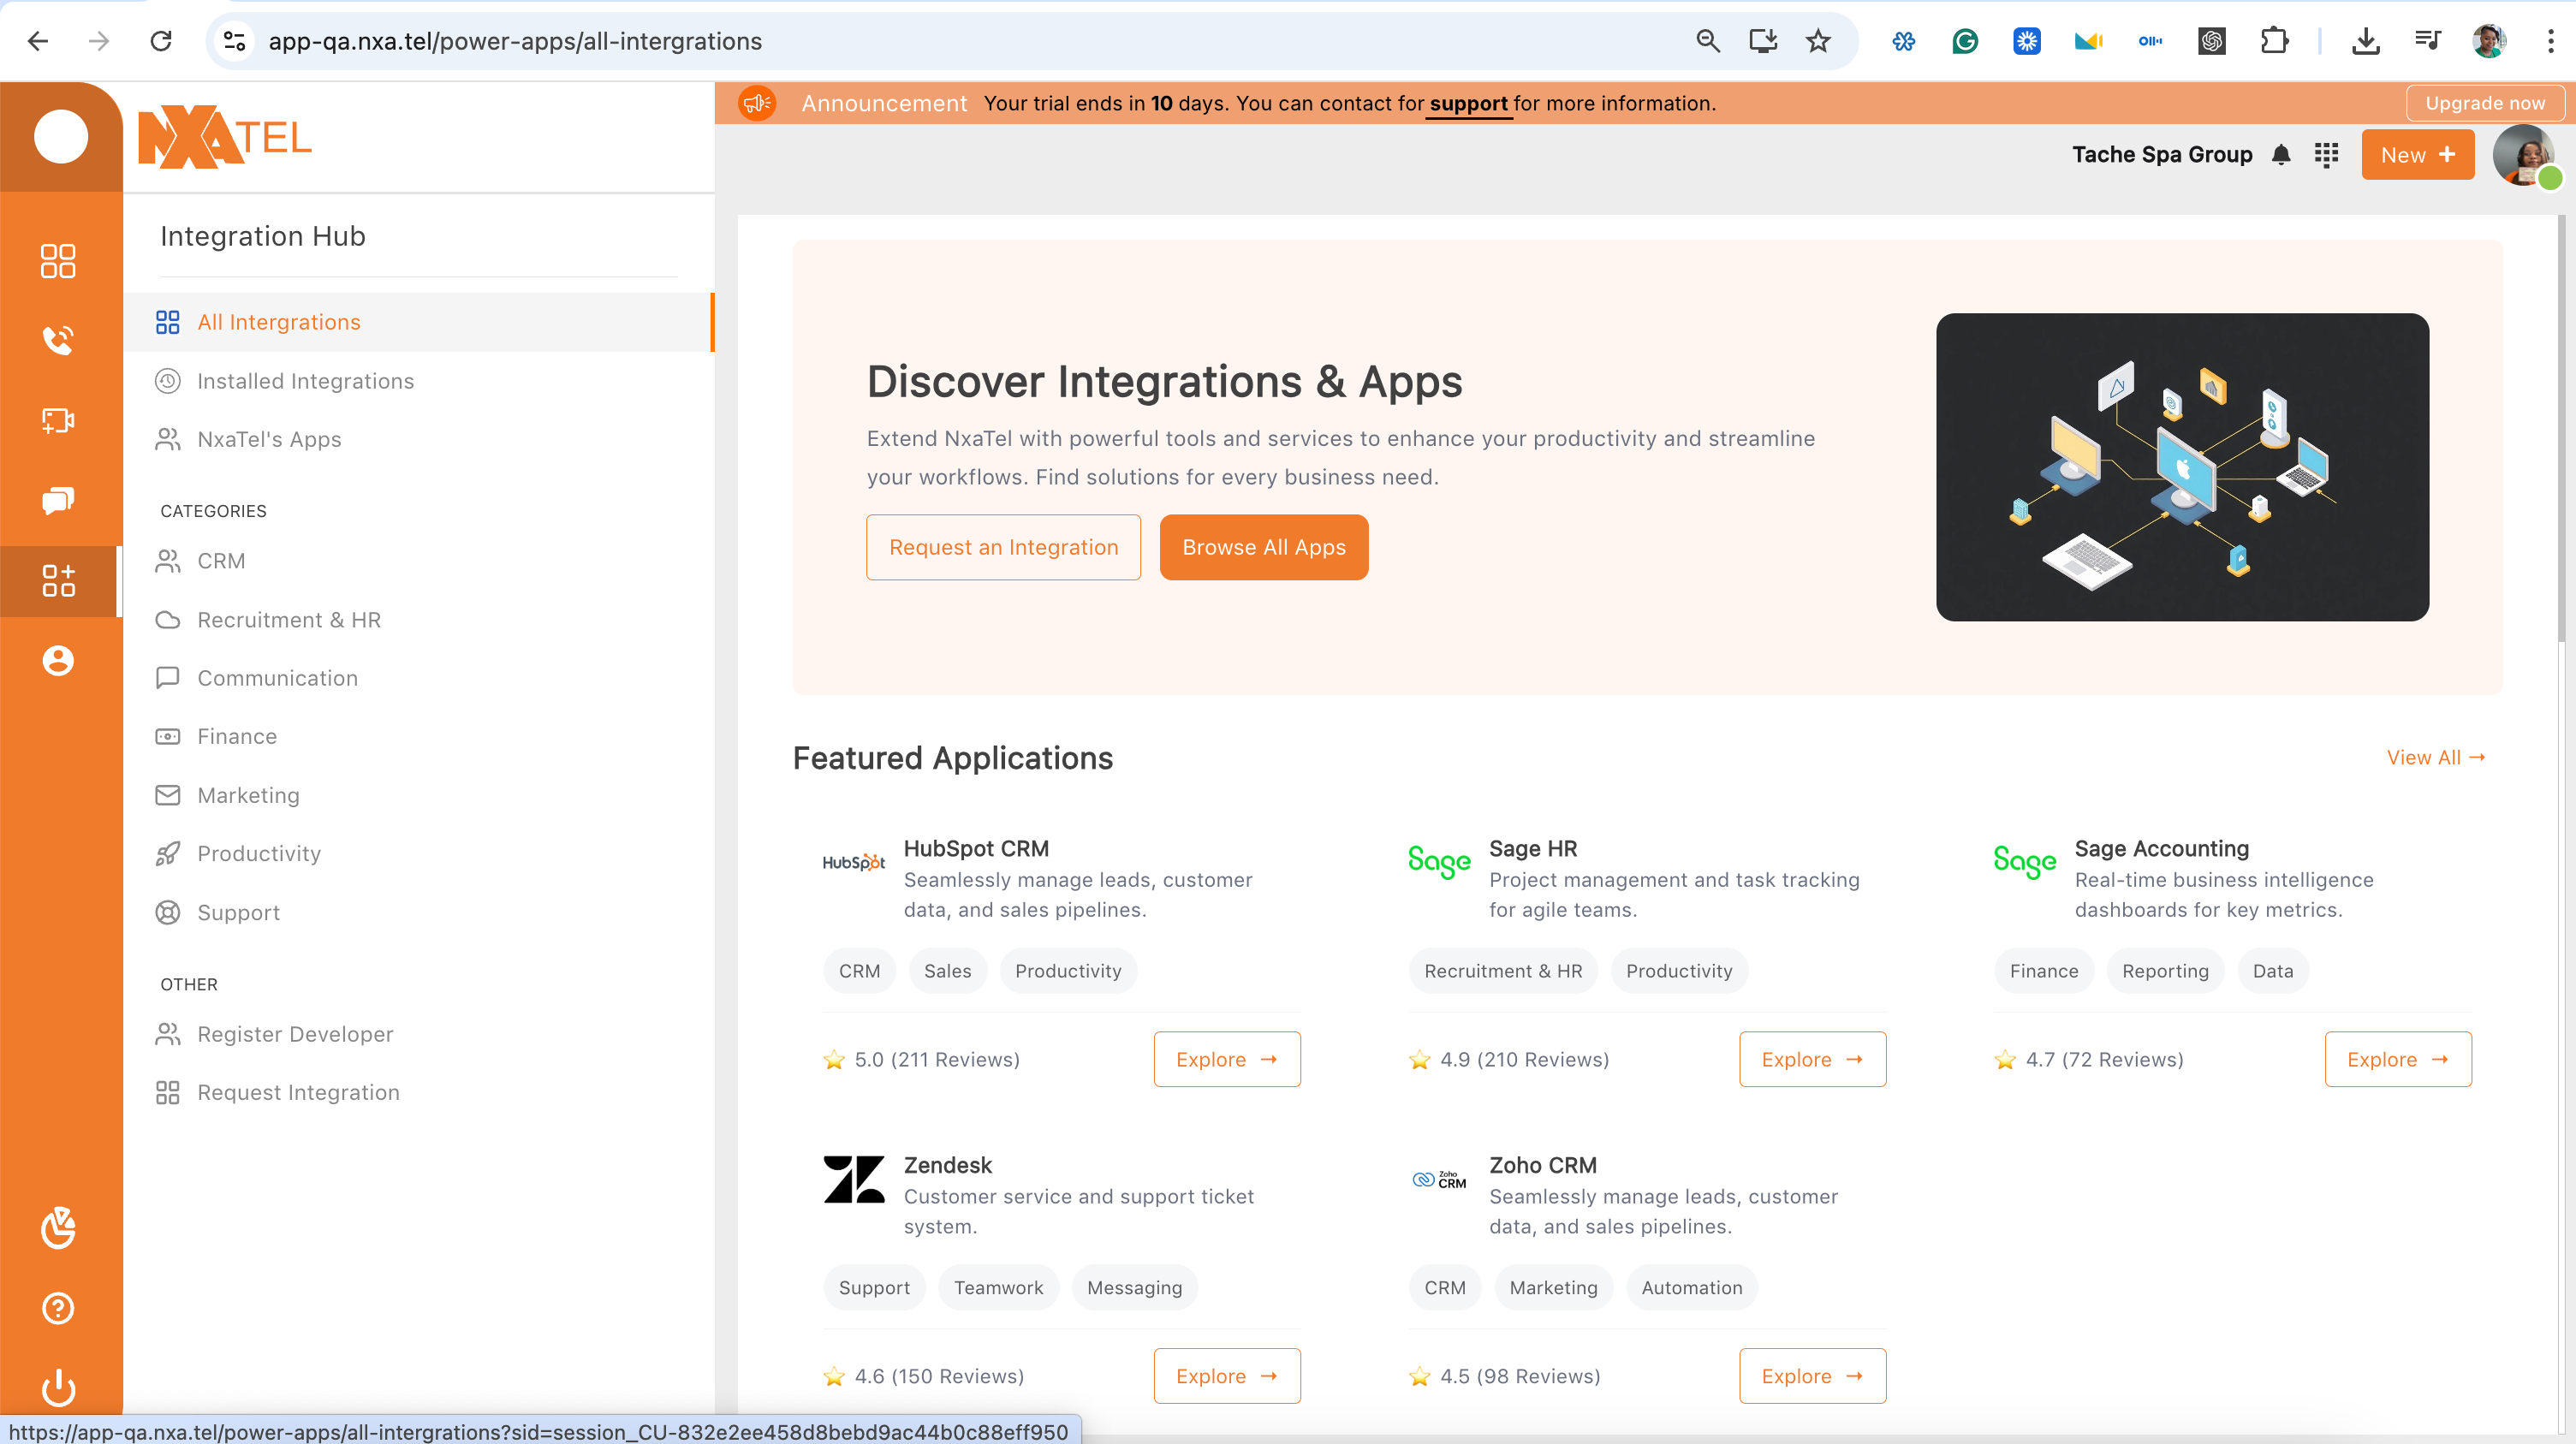
Navigate to Integrations
Find the Integration Hub within your dashboard.
- 1From the dashboard, go to Power Apps
- 2Select All Integrations
- 3Or navigate directly to the CRM category
- 4Locate the HubSpot Integration card
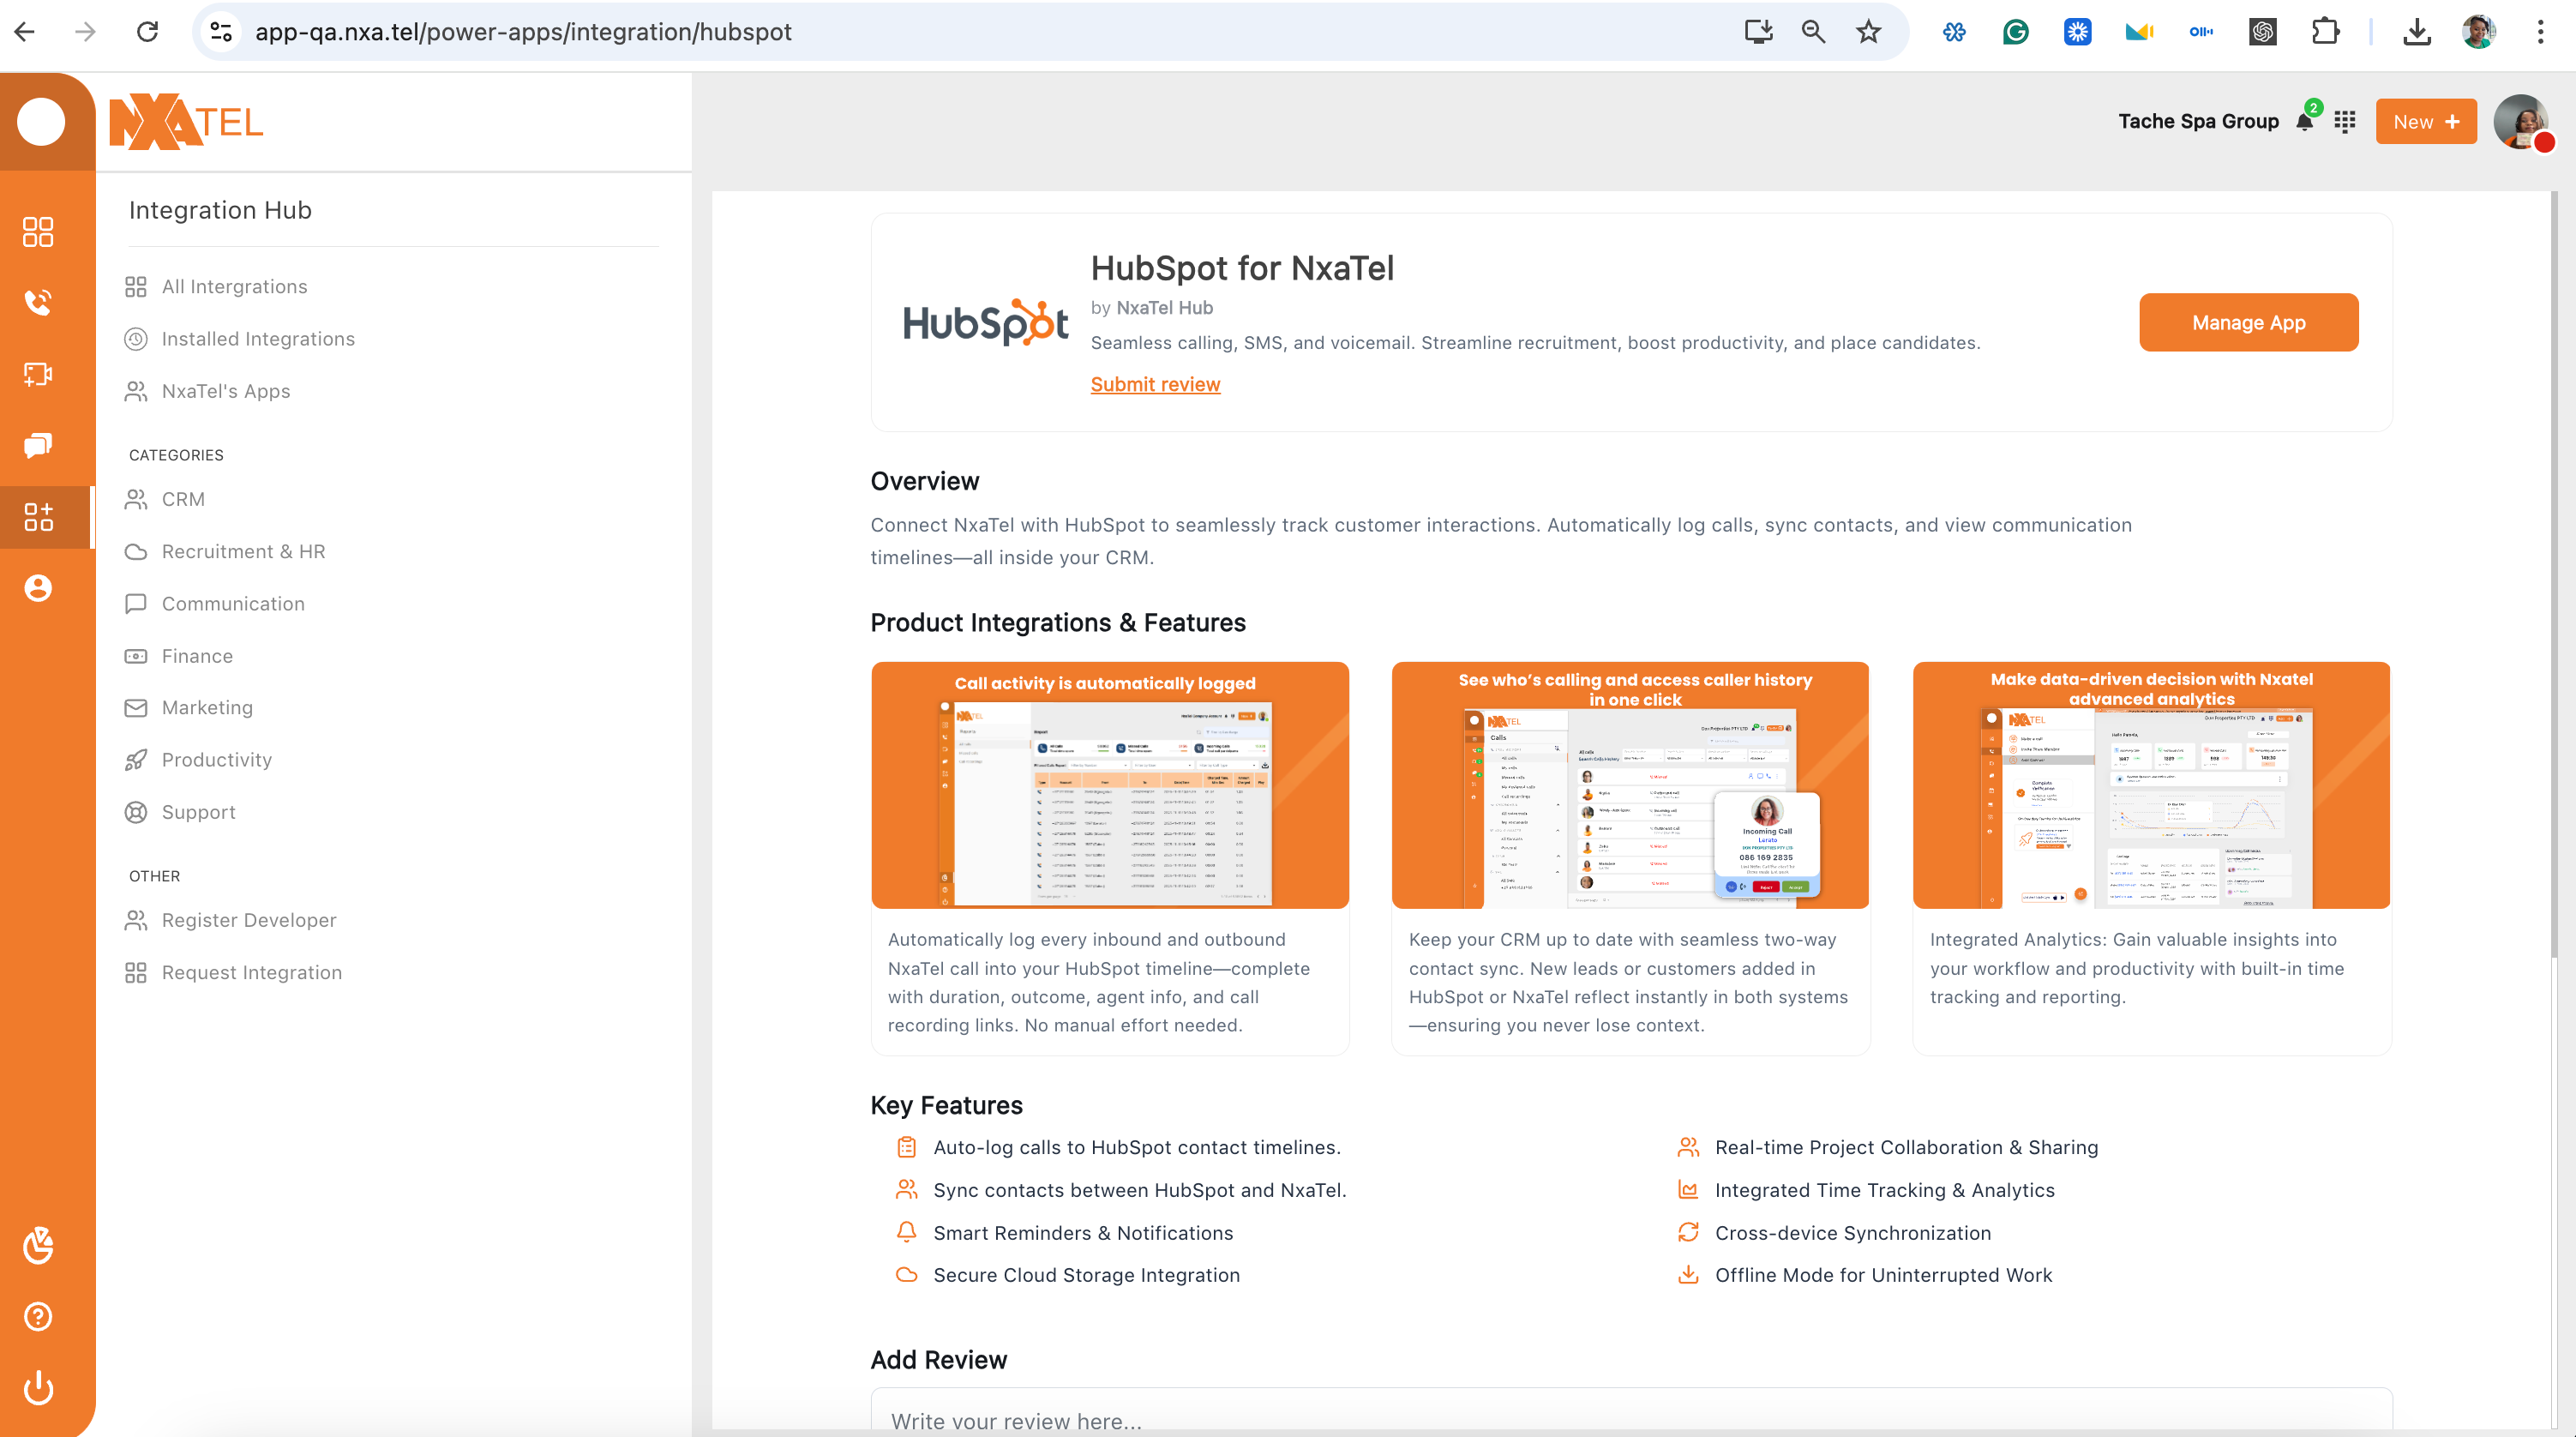
Install the HubSpot Integration
Begin the installation from the Integration Hub.
- 1Click Explore on the HubSpot CRM card
- 2Click Install App
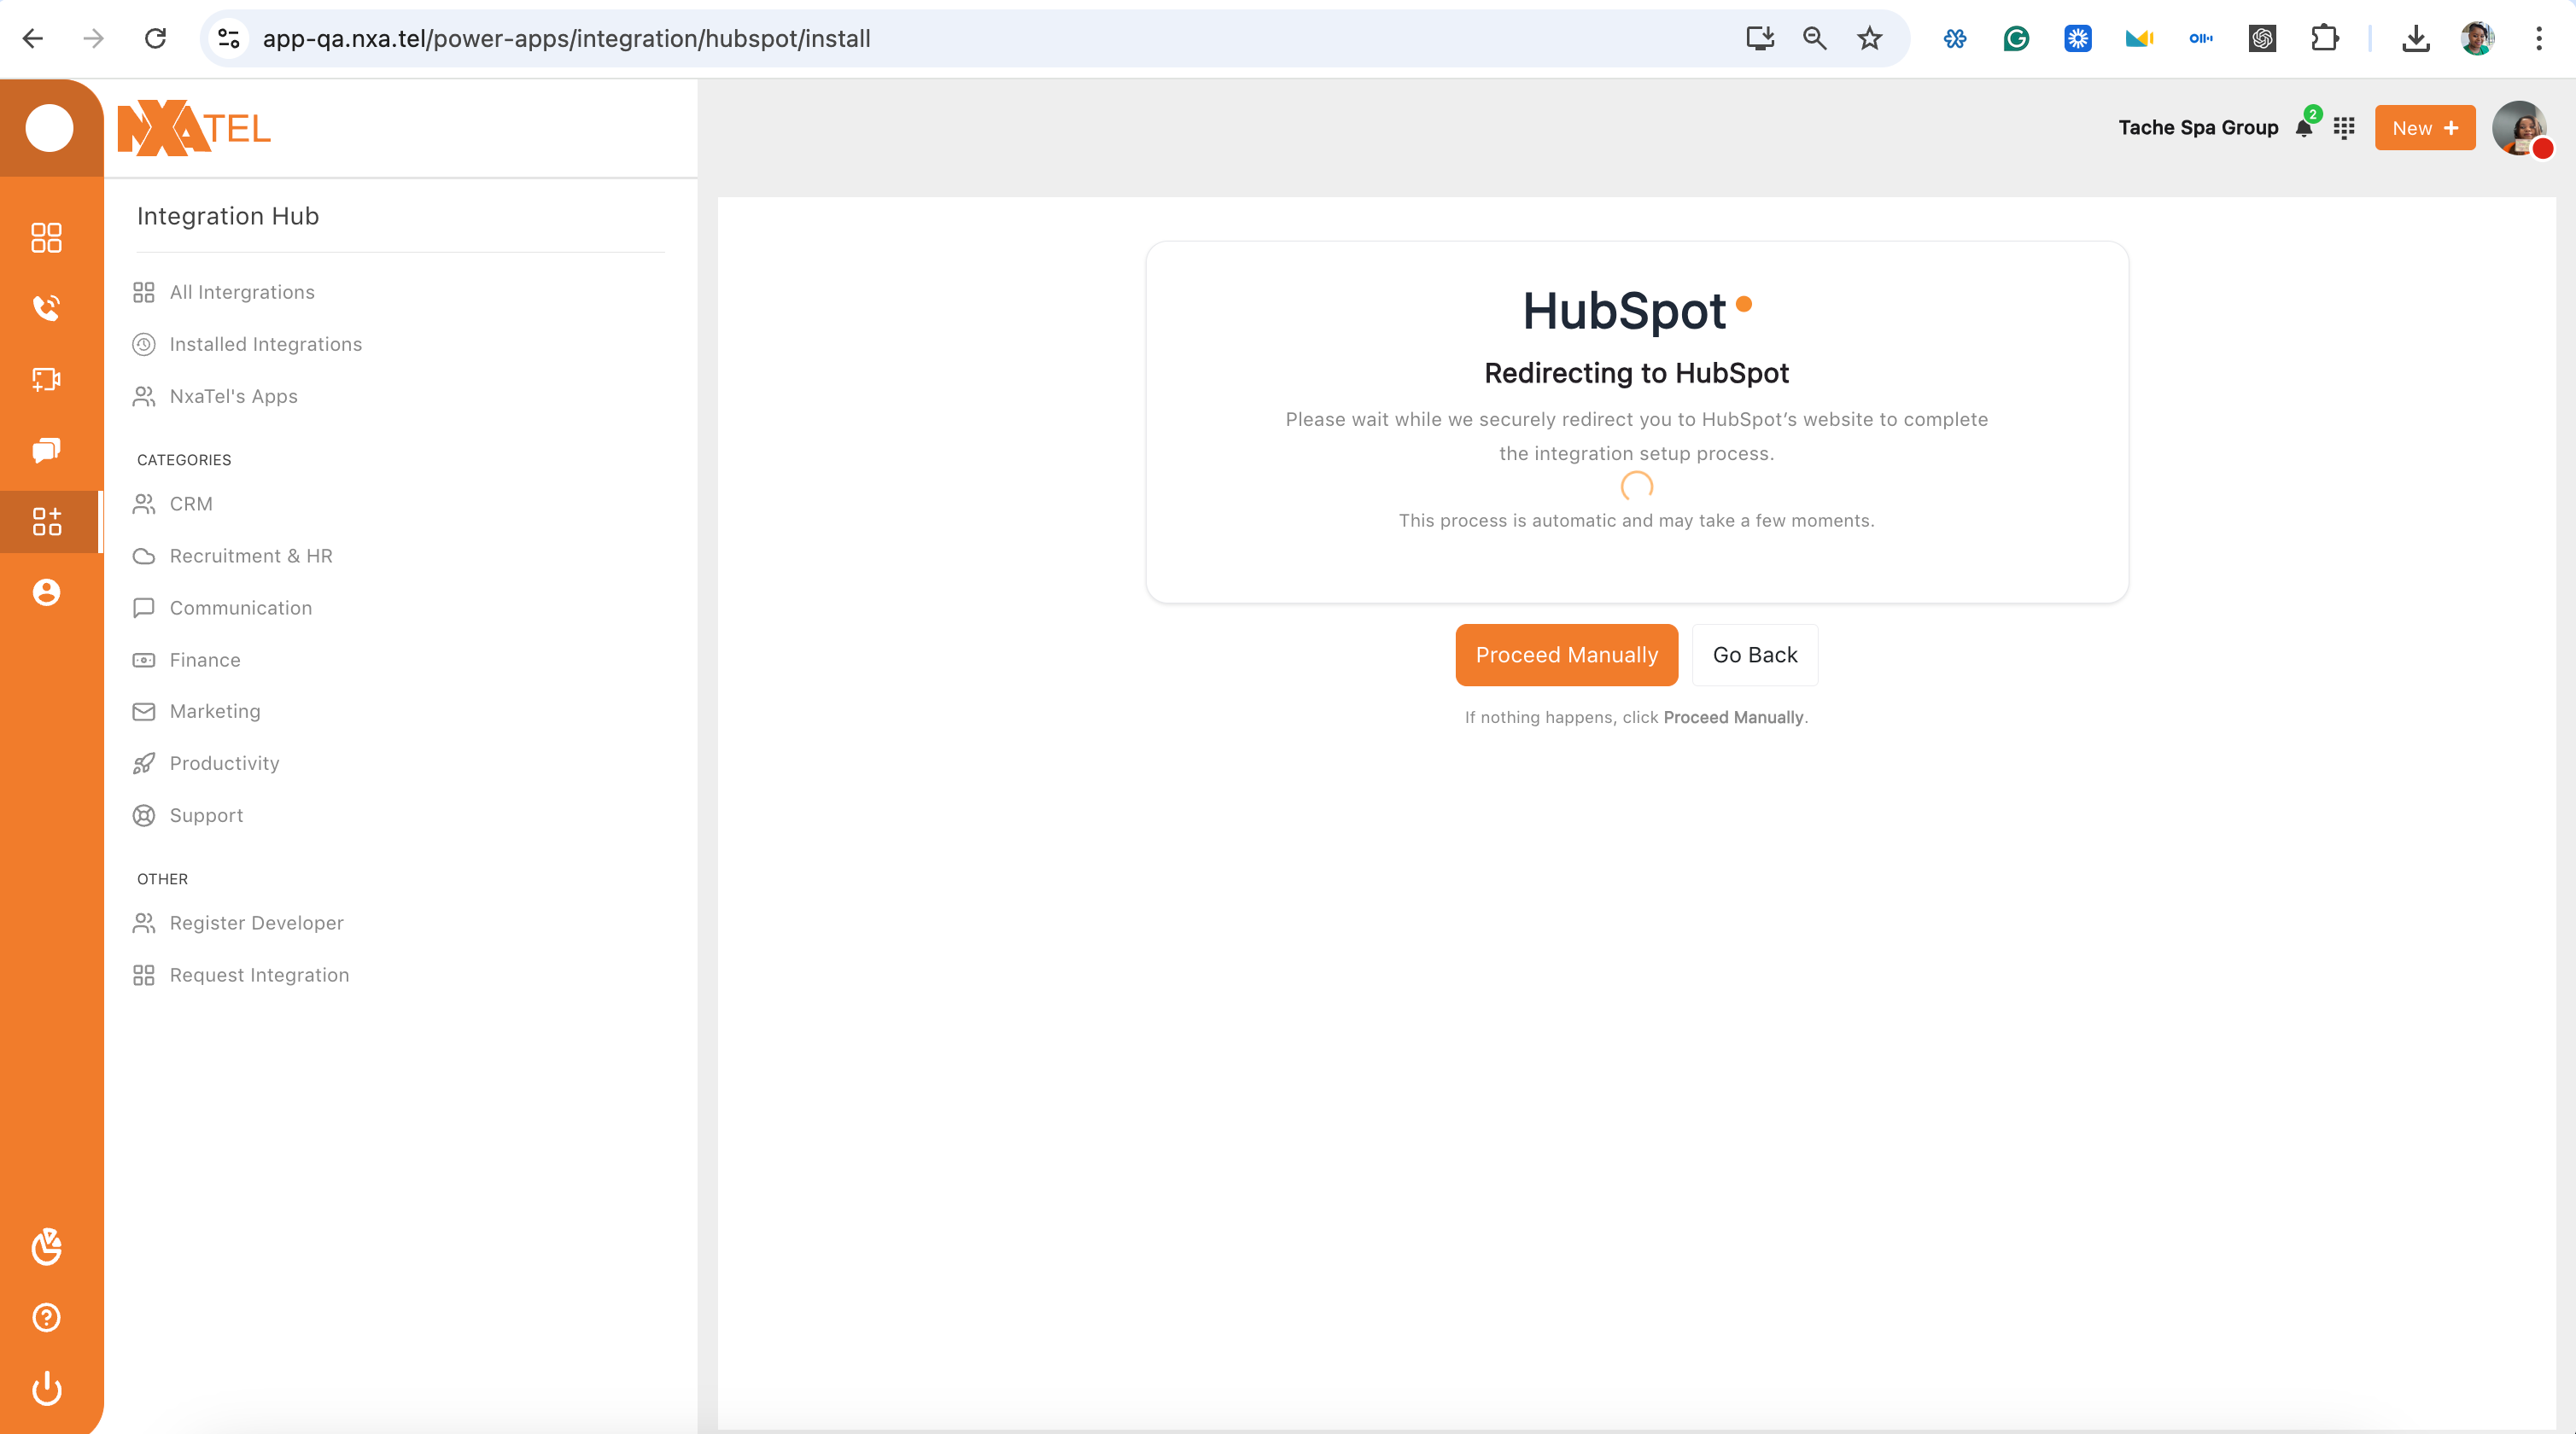
- 3Wait for the connection prompt to appear
The redirect to HubSpot may take a few seconds. If nothing happens, click Proceed Manually.
Connect Your HubSpot Account
Authorize NxaTel to access your HubSpot workspace.
- 1Select your HubSpot account from the list
- 2Click Connect Account
- 3Review and accept permissions
- 4Click Agree to finalize authorization
You must have Super Admin access in HubSpot to grant the required permissions.
Configure the Integration
Define how NxaTel and HubSpot interact with each other.
- 1After connecting, click Configure Integration
- 2You will work through four key areas:
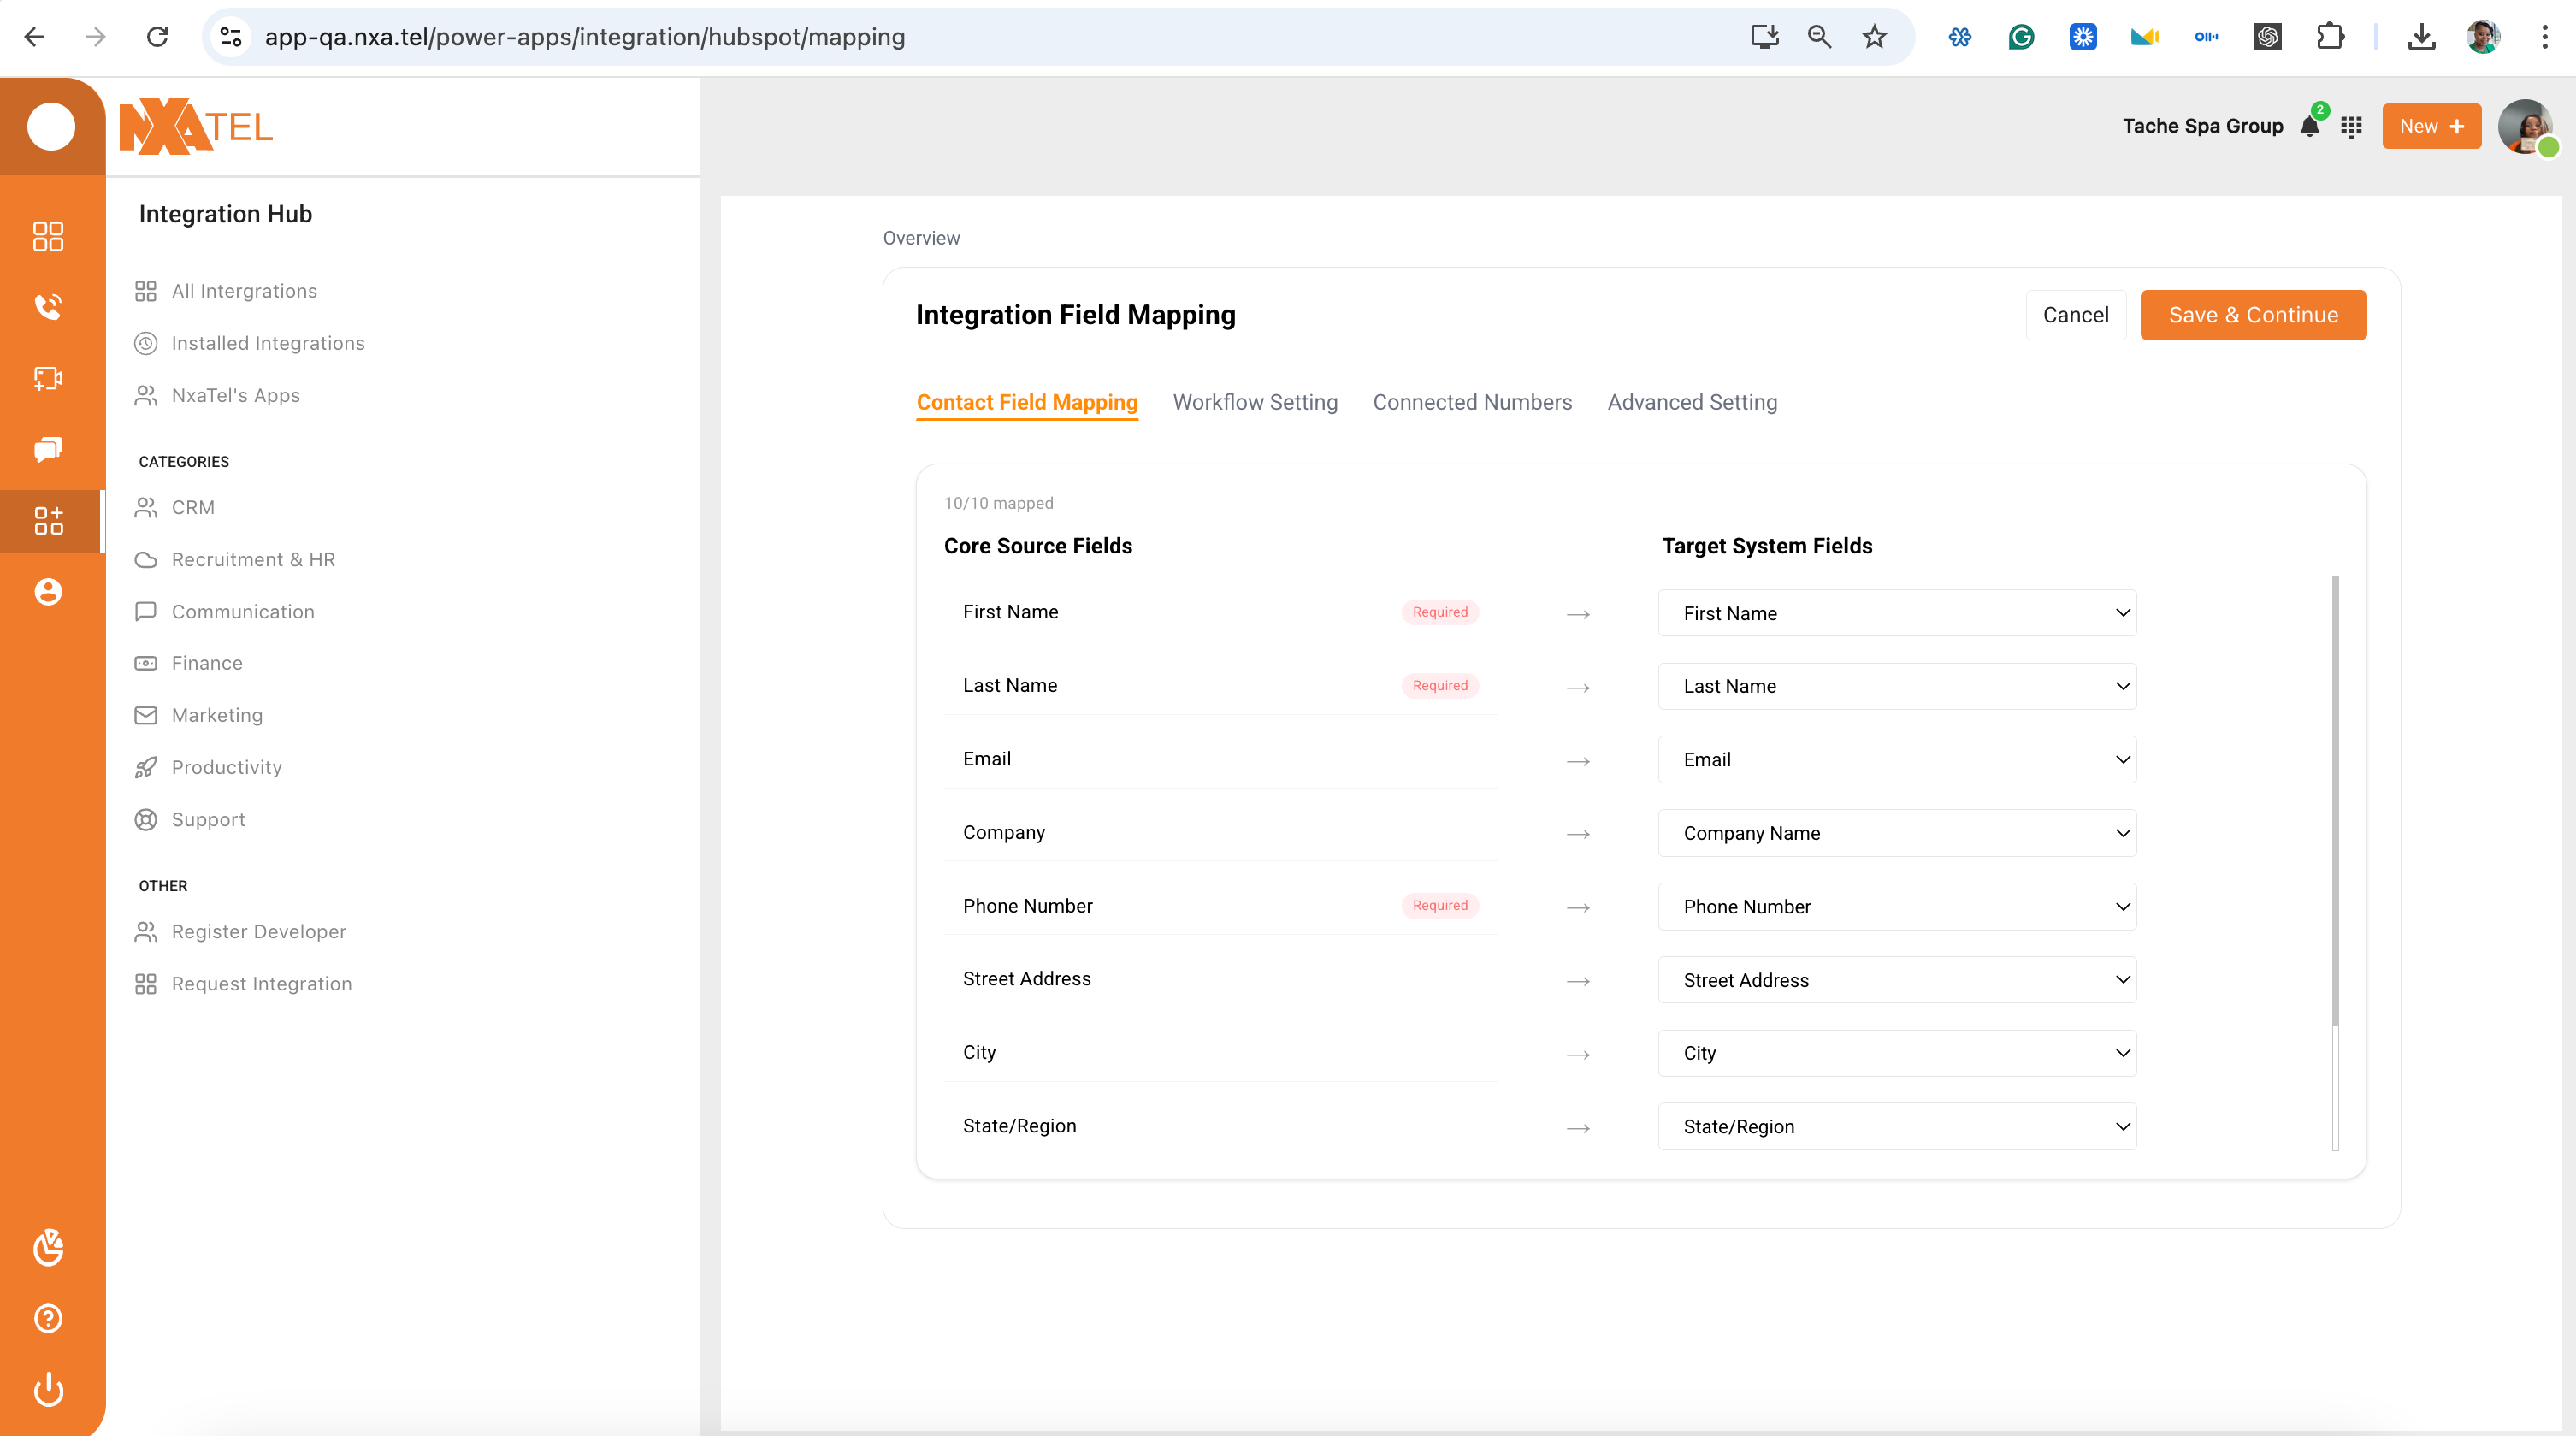
Configure Contact Mapping
Match data fields between NxaTel and HubSpot so contacts sync correctly.
- 1Map First Name, Last Name, and Phone Number (required)
- 2Optionally map Email, Company, and Street Address
- 3Verify all required fields are matched exactly
| NxaTel Field | → | HubSpot Field | Required |
|---|---|---|---|
| First Name | → | First Name | Required |
| Last Name | → | Last Name | Required |
| Phone Number | → | Phone Number | Required |
| → | Optional | ||
| Company | → | Company Name | Optional |
| Street Address | → | Street Address | Optional |
Incorrect mapping will result in missing or incorrect data. Match required fields exactly.
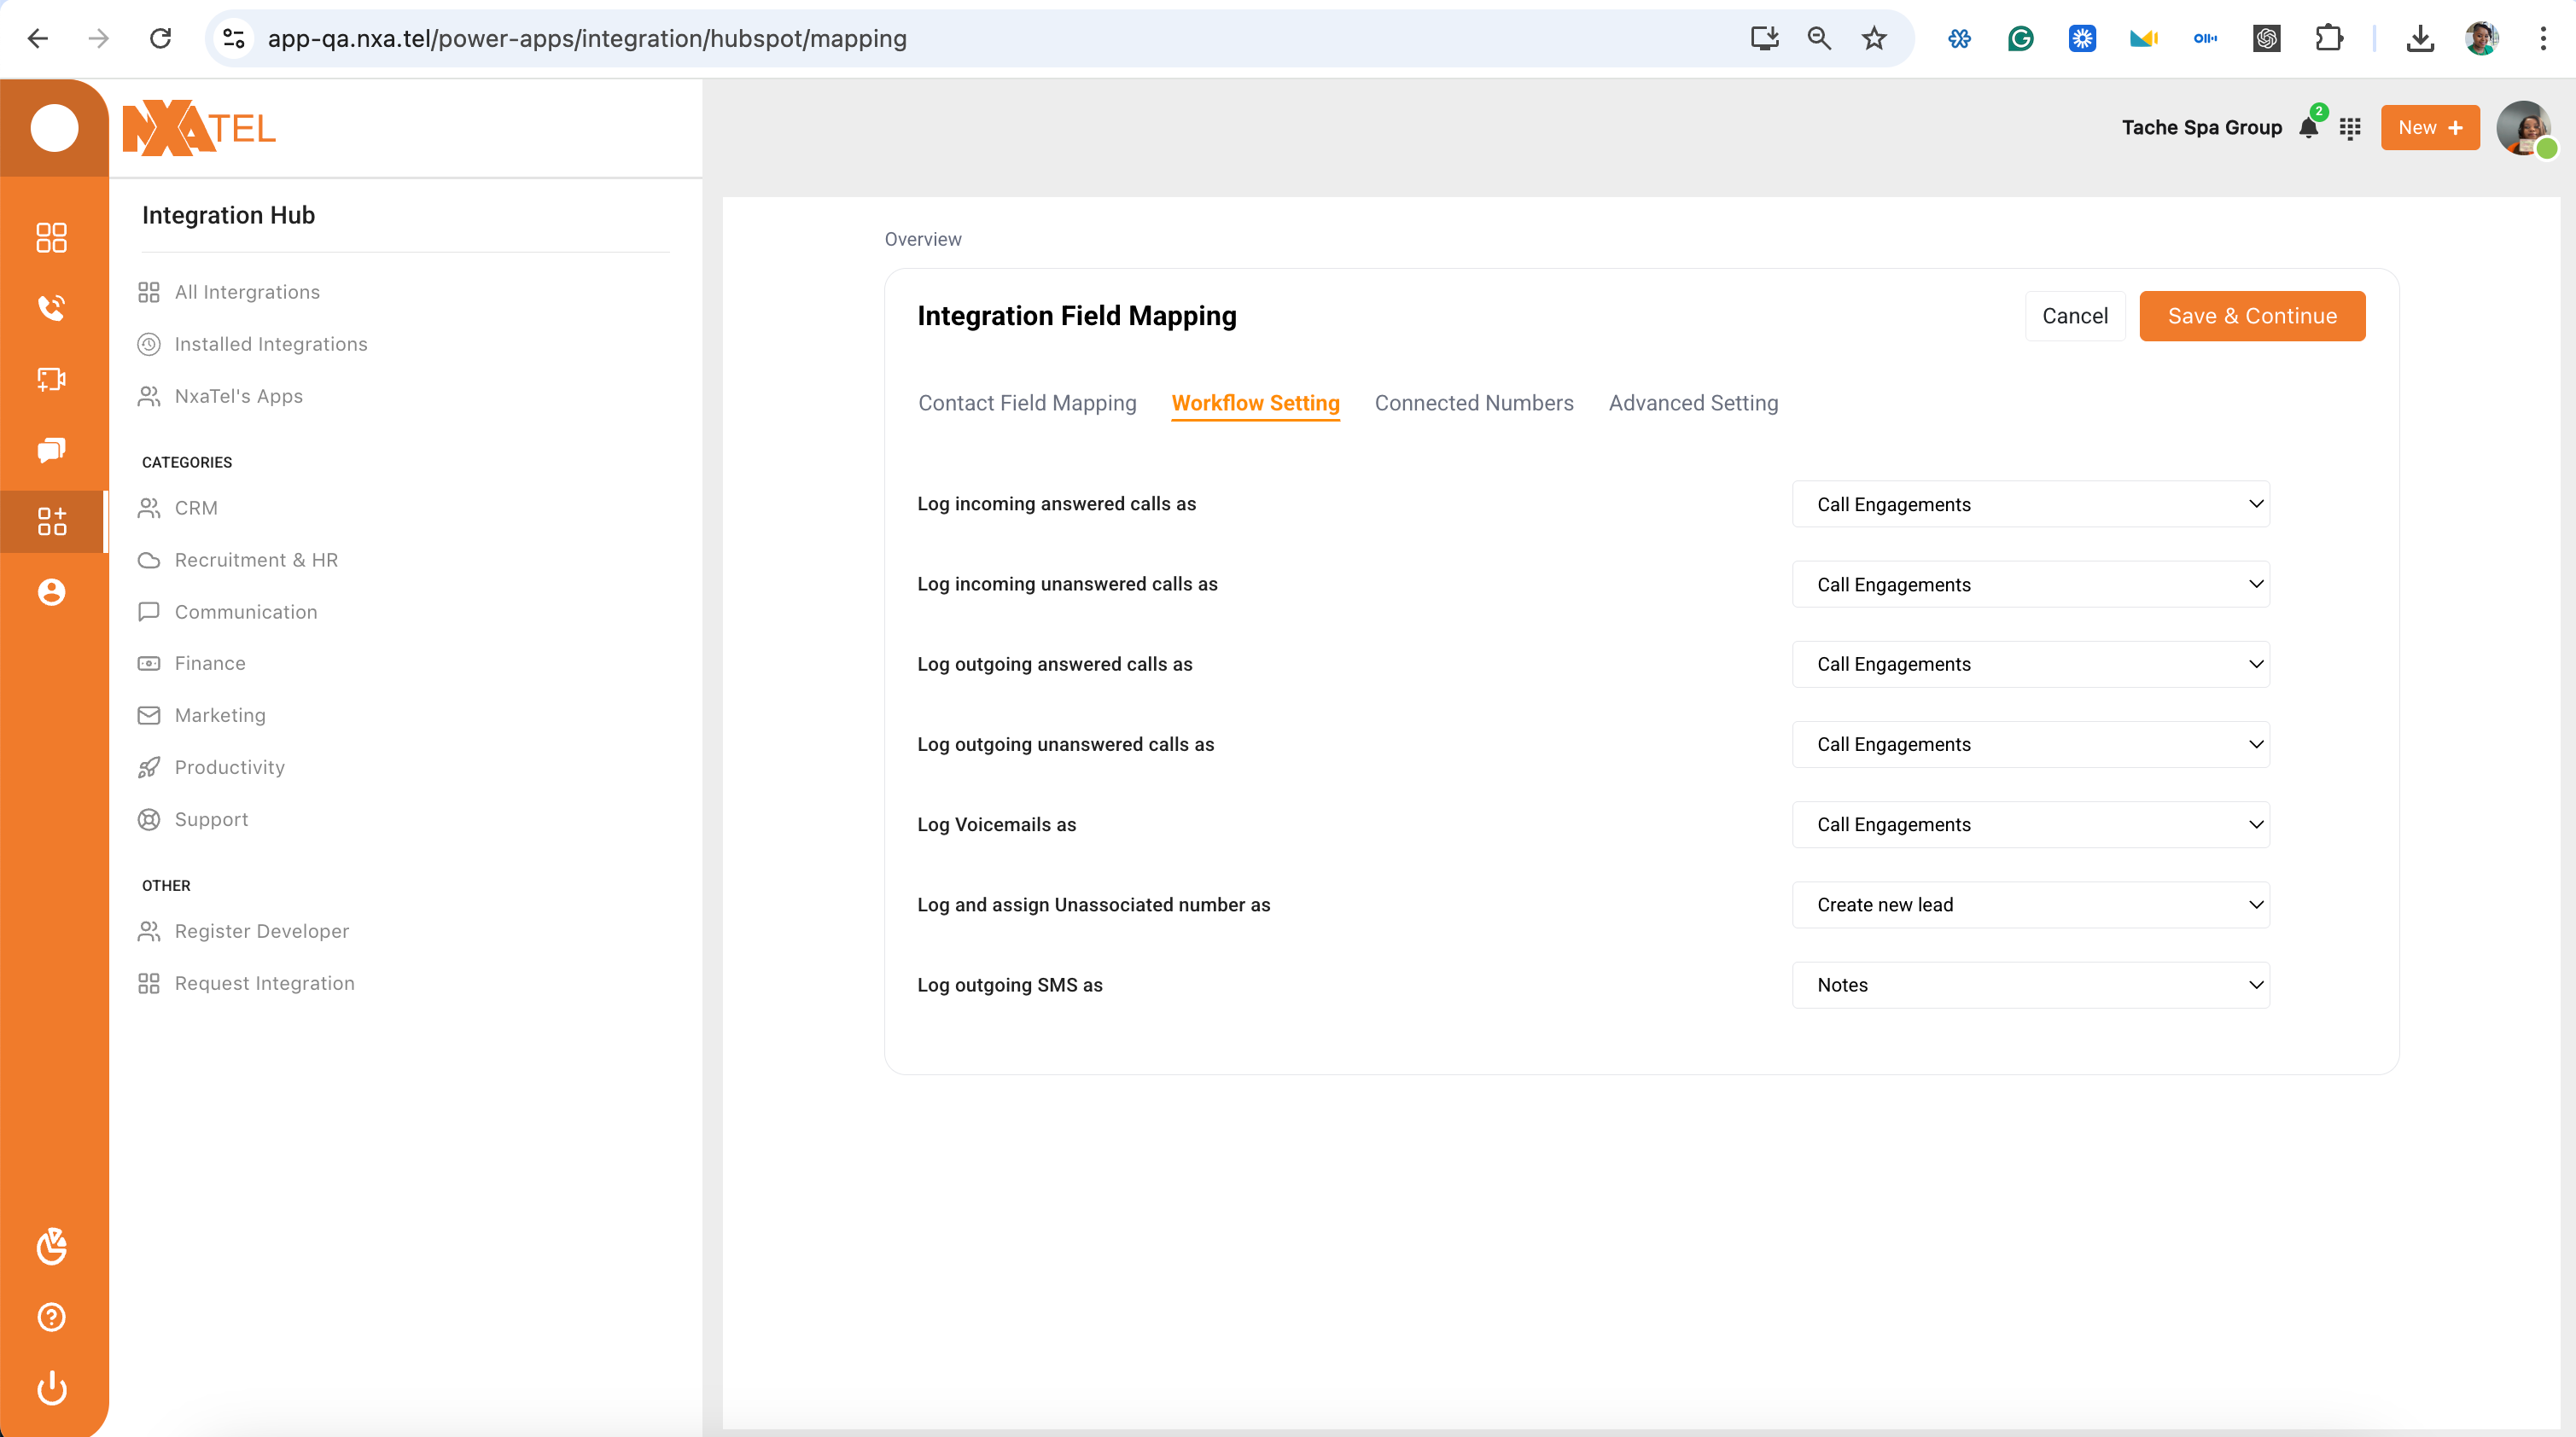
Configure Workflow Settings
Control which communication activities are automatically logged into HubSpot.
- 1Enable Incoming Calls logging
- 2Enable Unanswered Calls logging
- 3Enable Outgoing Calls logging
- 4Enable Voicemails logging
- 5Enable SMS Logs
- 6Enable Unknown Number Tracking
Enable all options for full visibility across your entire team.
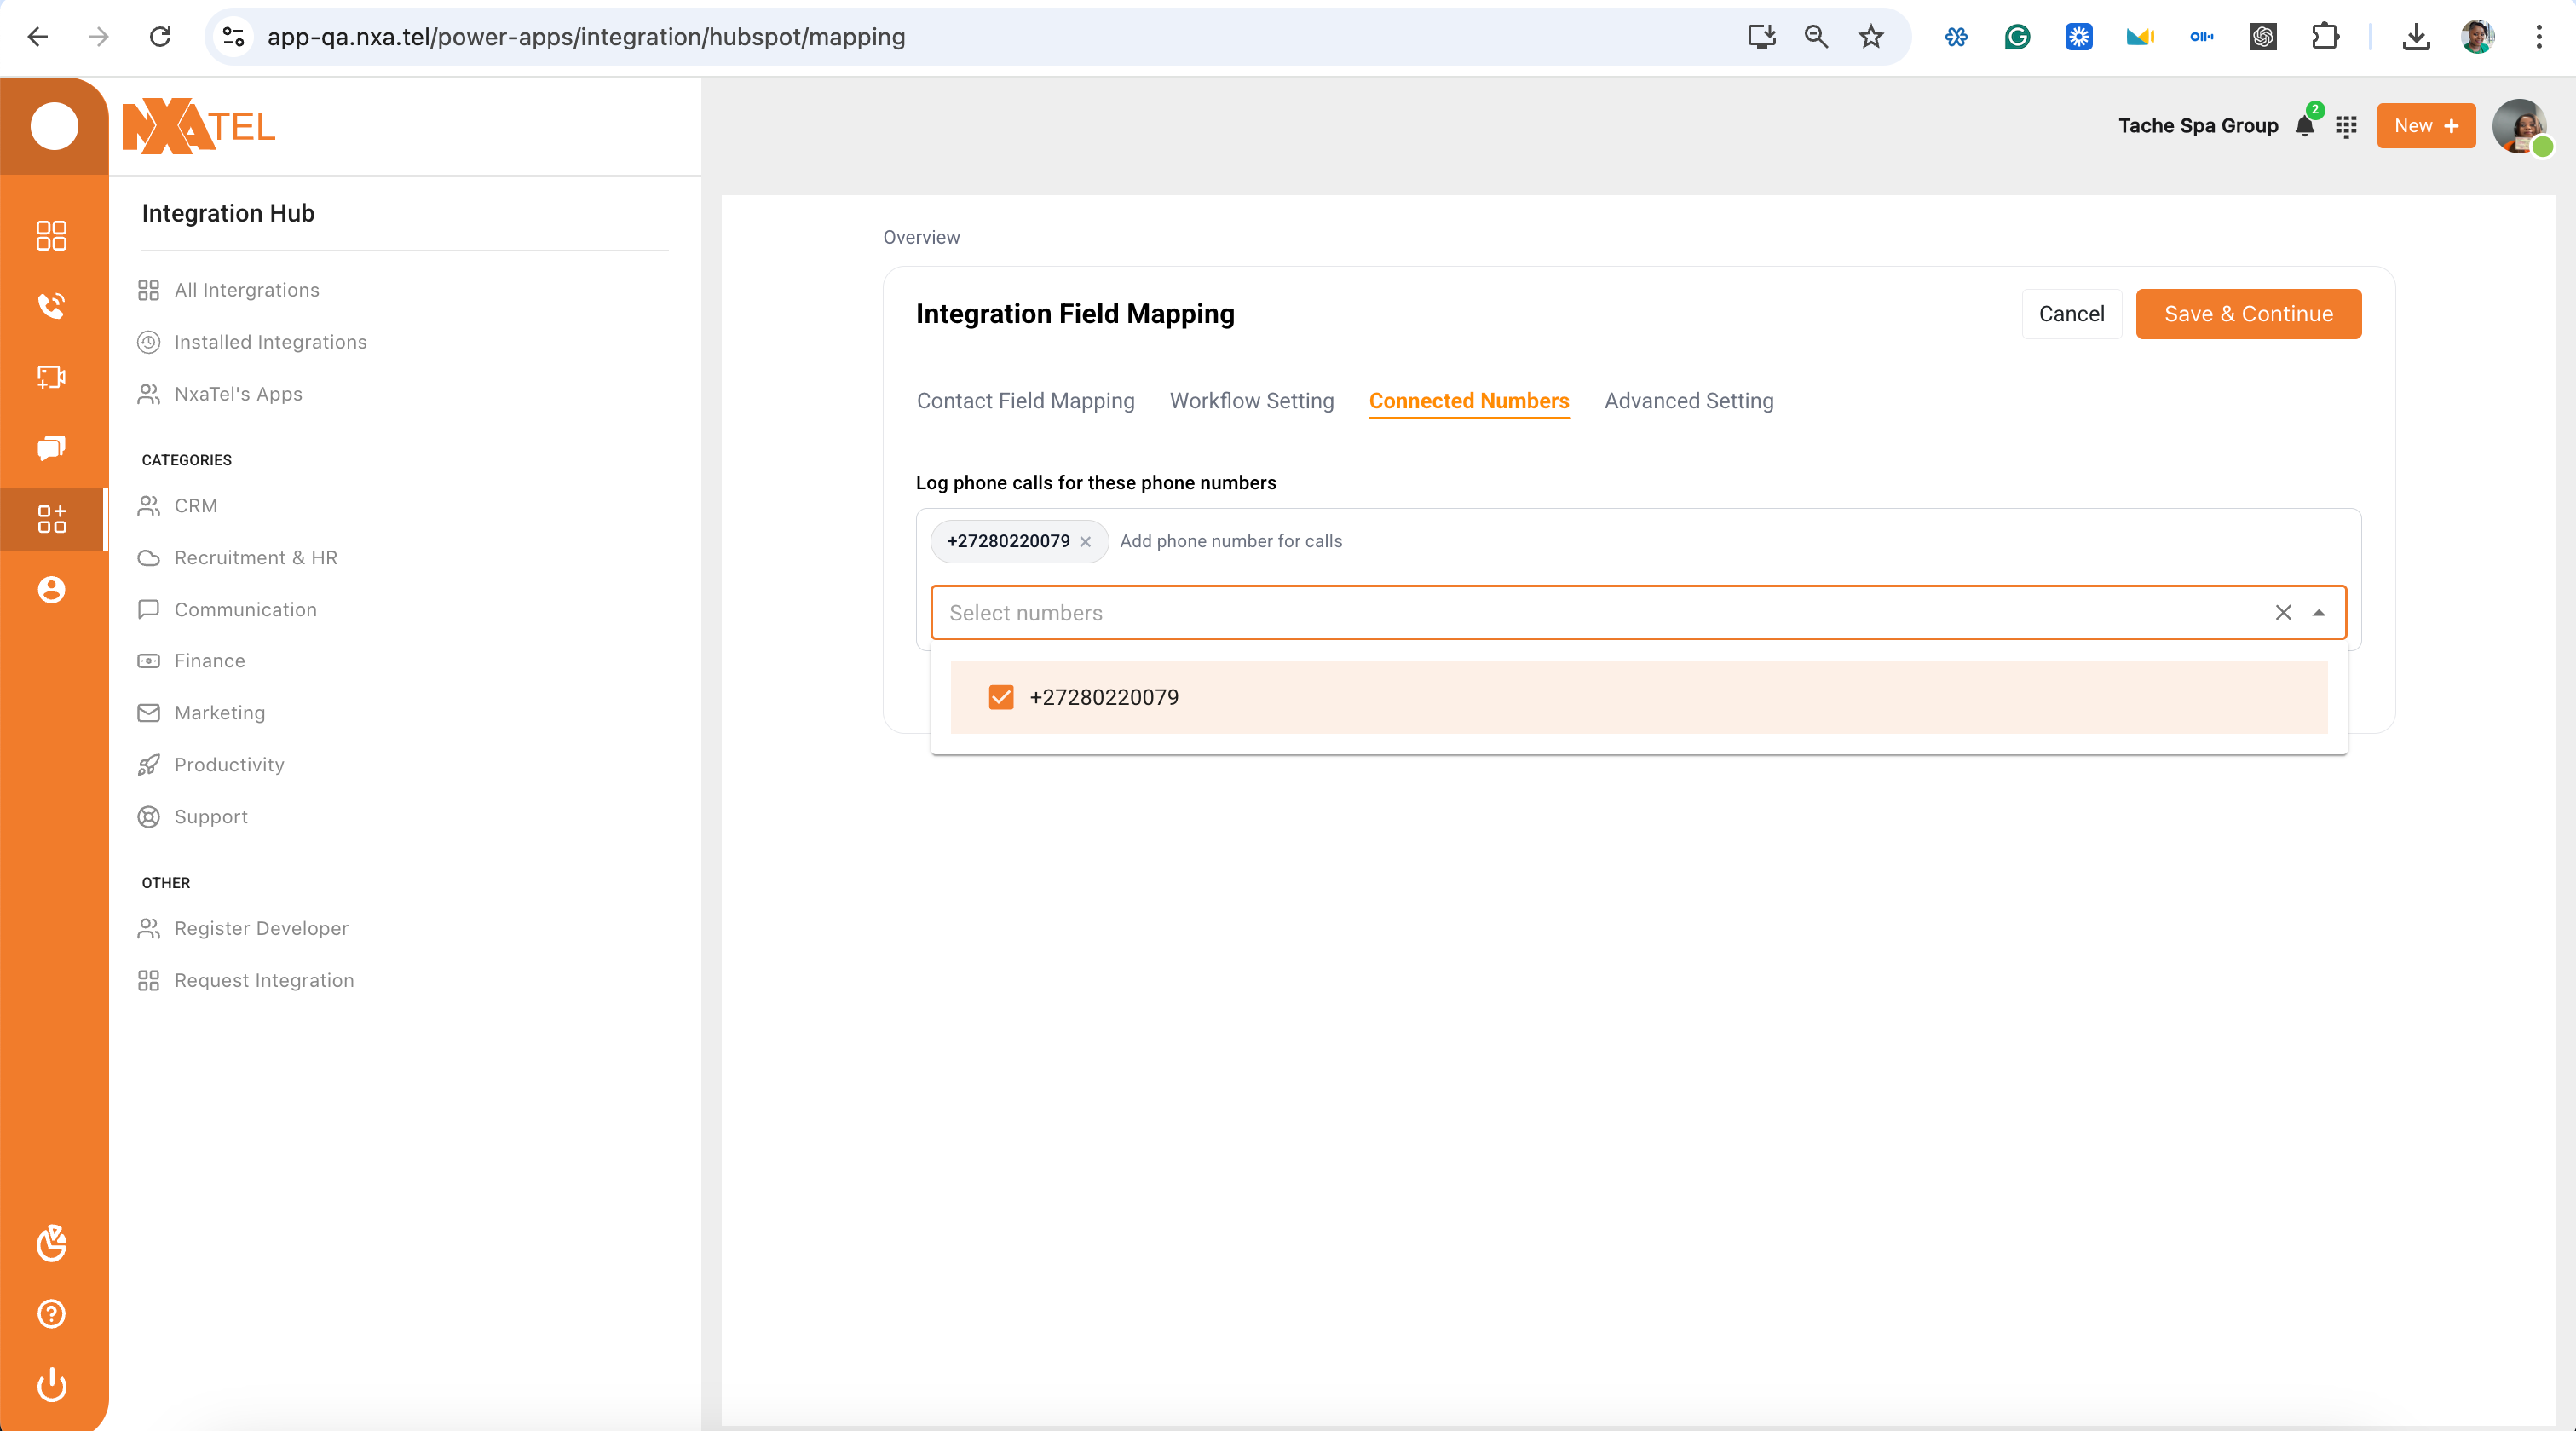
Assign Numbers
Select which NxaTel numbers will be connected to HubSpot.
- 1View your available NxaTel numbers
- 2Select numbers for Sales, Support, and Inbound calls
- 3Click Save & Continue
Only selected numbers will log activity and sync with HubSpot.
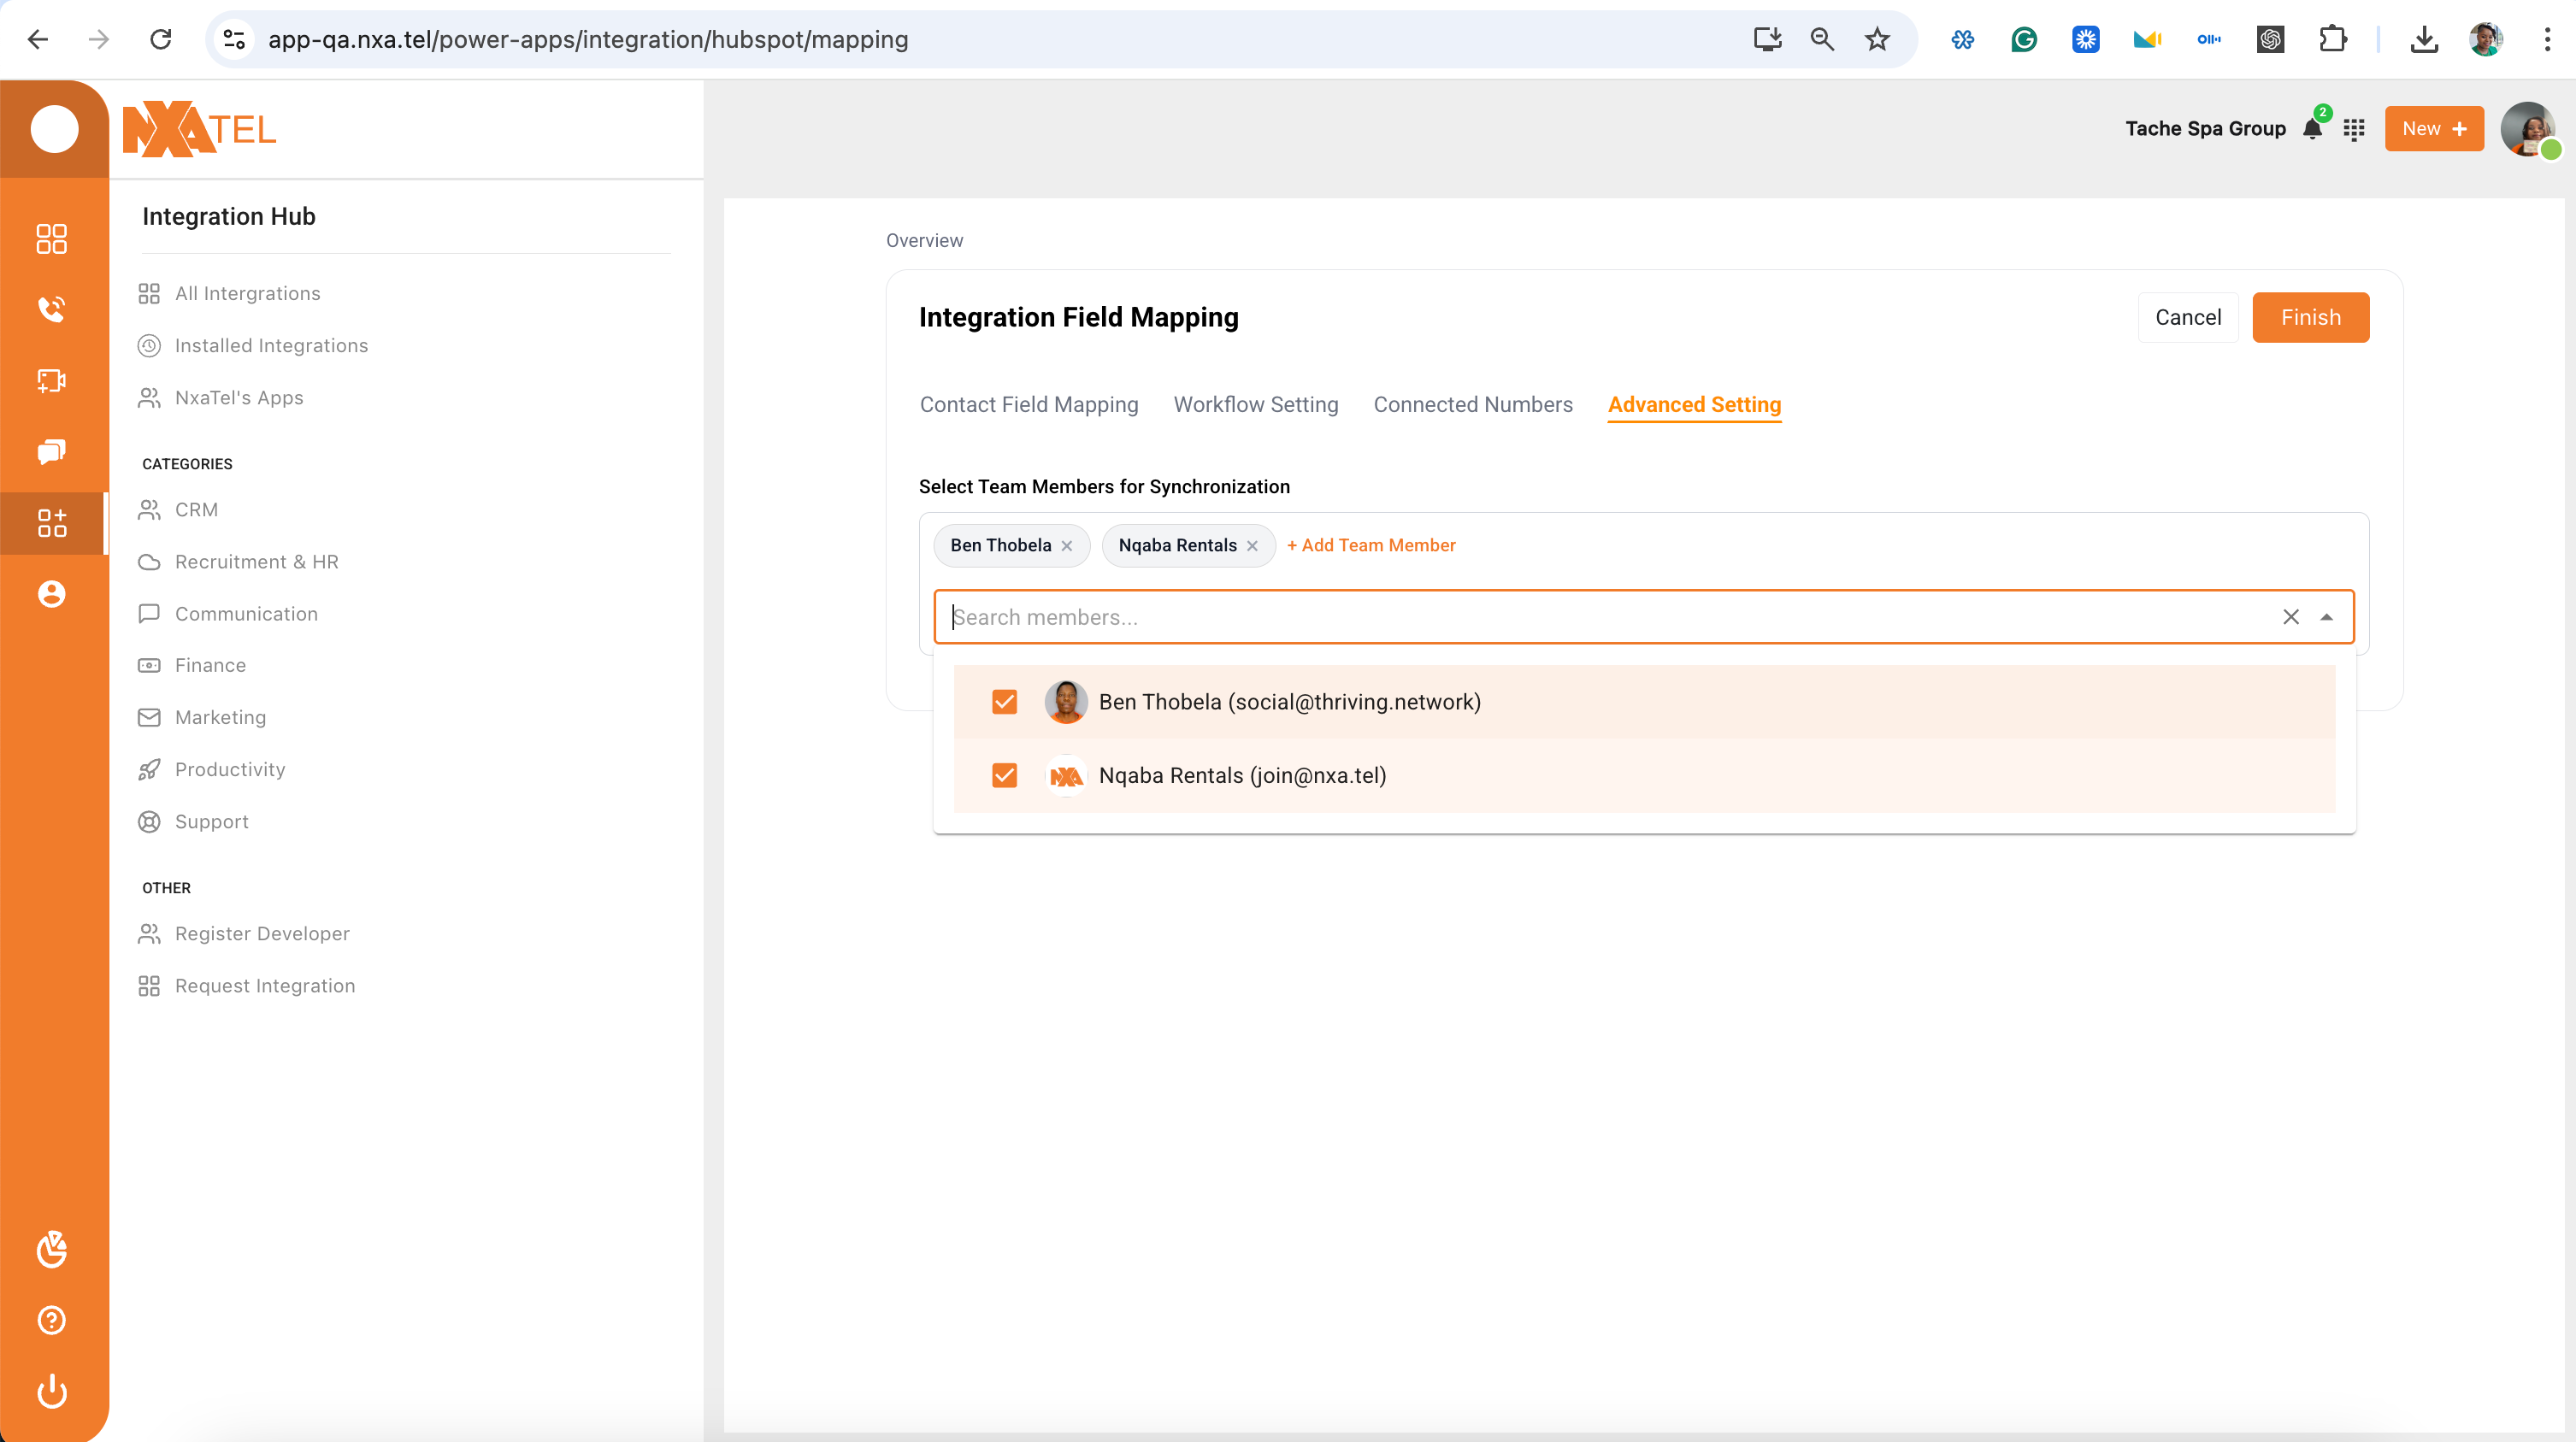
Assign Users
Choose which team members are included in the integration.
- 1Select Sales agents
- 2Select Support team members
- 3Select Account managers
Selected users will have their individual call activity, performance metrics, and CRM engagement tracked.
Finalize Setup
Complete the configuration and activate the integration.
- 1Review all configuration settings
- 2Click Finish
- 3Confirm the status changes from Install to Manage
A "Manage" button confirms the integration is active. The HubSpot card in your Integration Hub will now show it as installed.
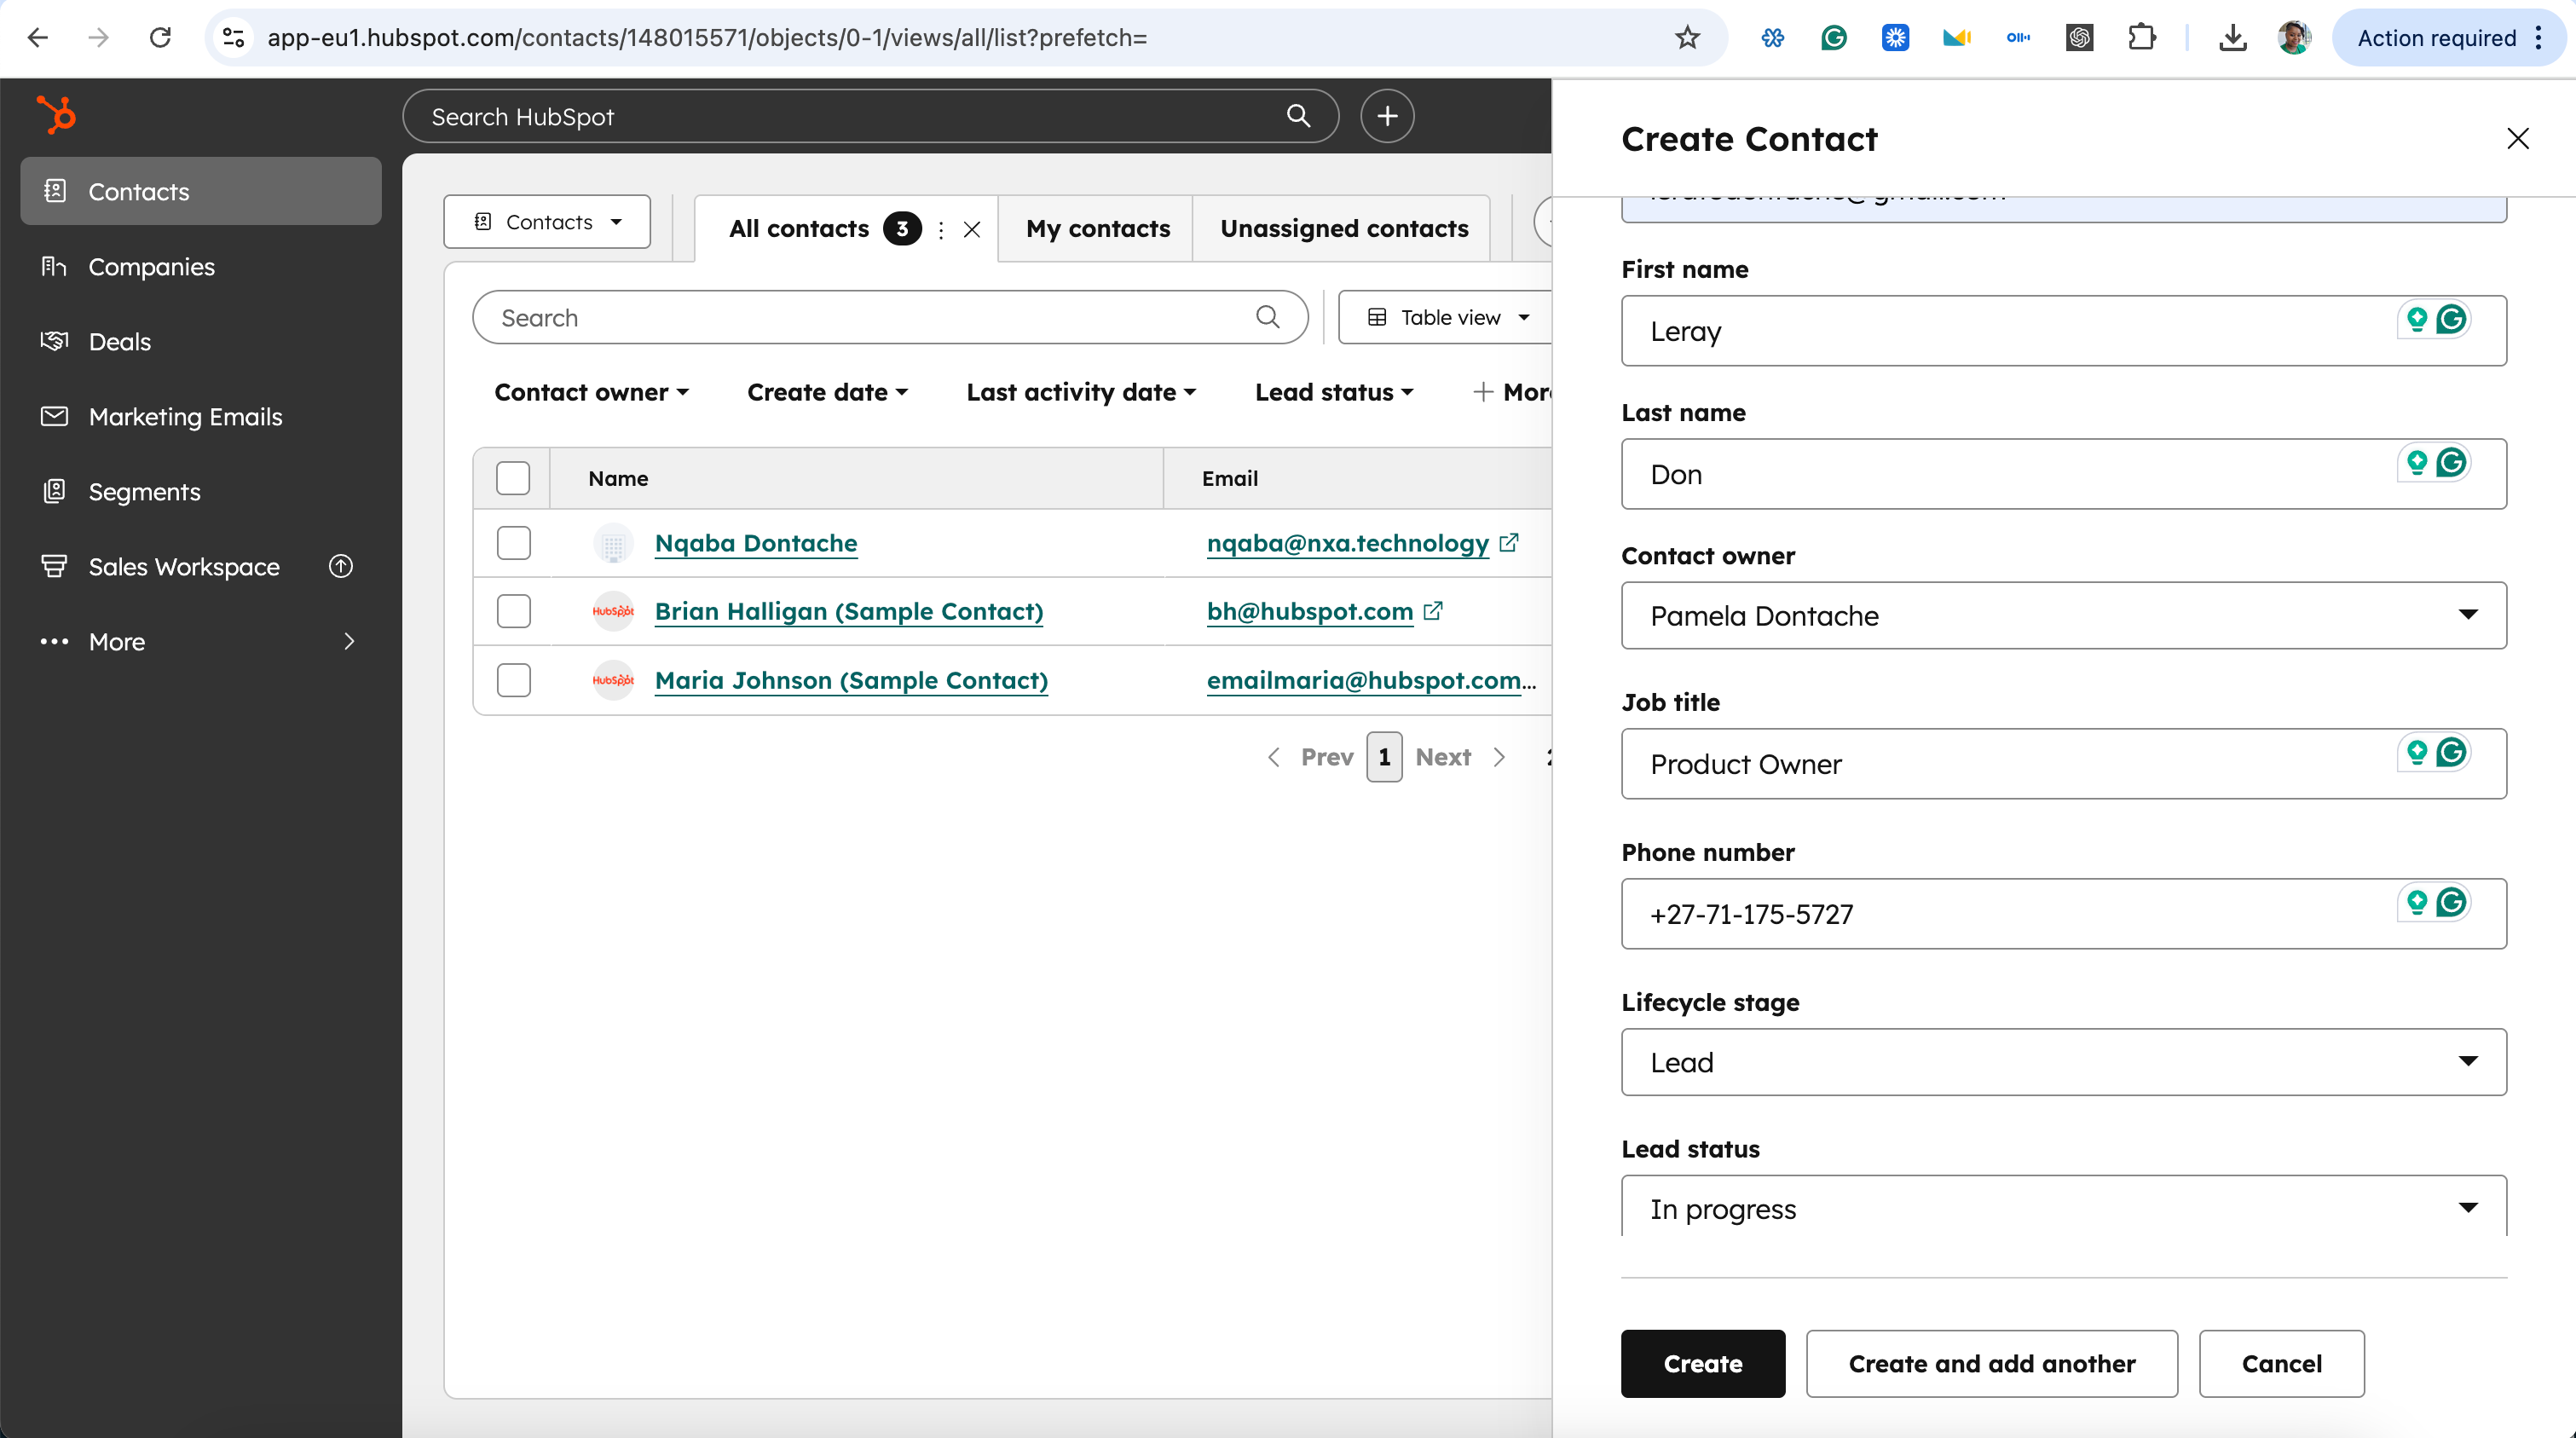
Validate Contact Sync
Test that contacts are syncing correctly between both systems.
- 1Open HubSpot and create a new test contact
- 2Fill in name, phone number, and email, then save
- 3Open NxaTel → Contacts
- 4Confirm the same contact appears in NxaTel
Sync is working if the contact appears in NxaTel within a few seconds of being saved in HubSpot.
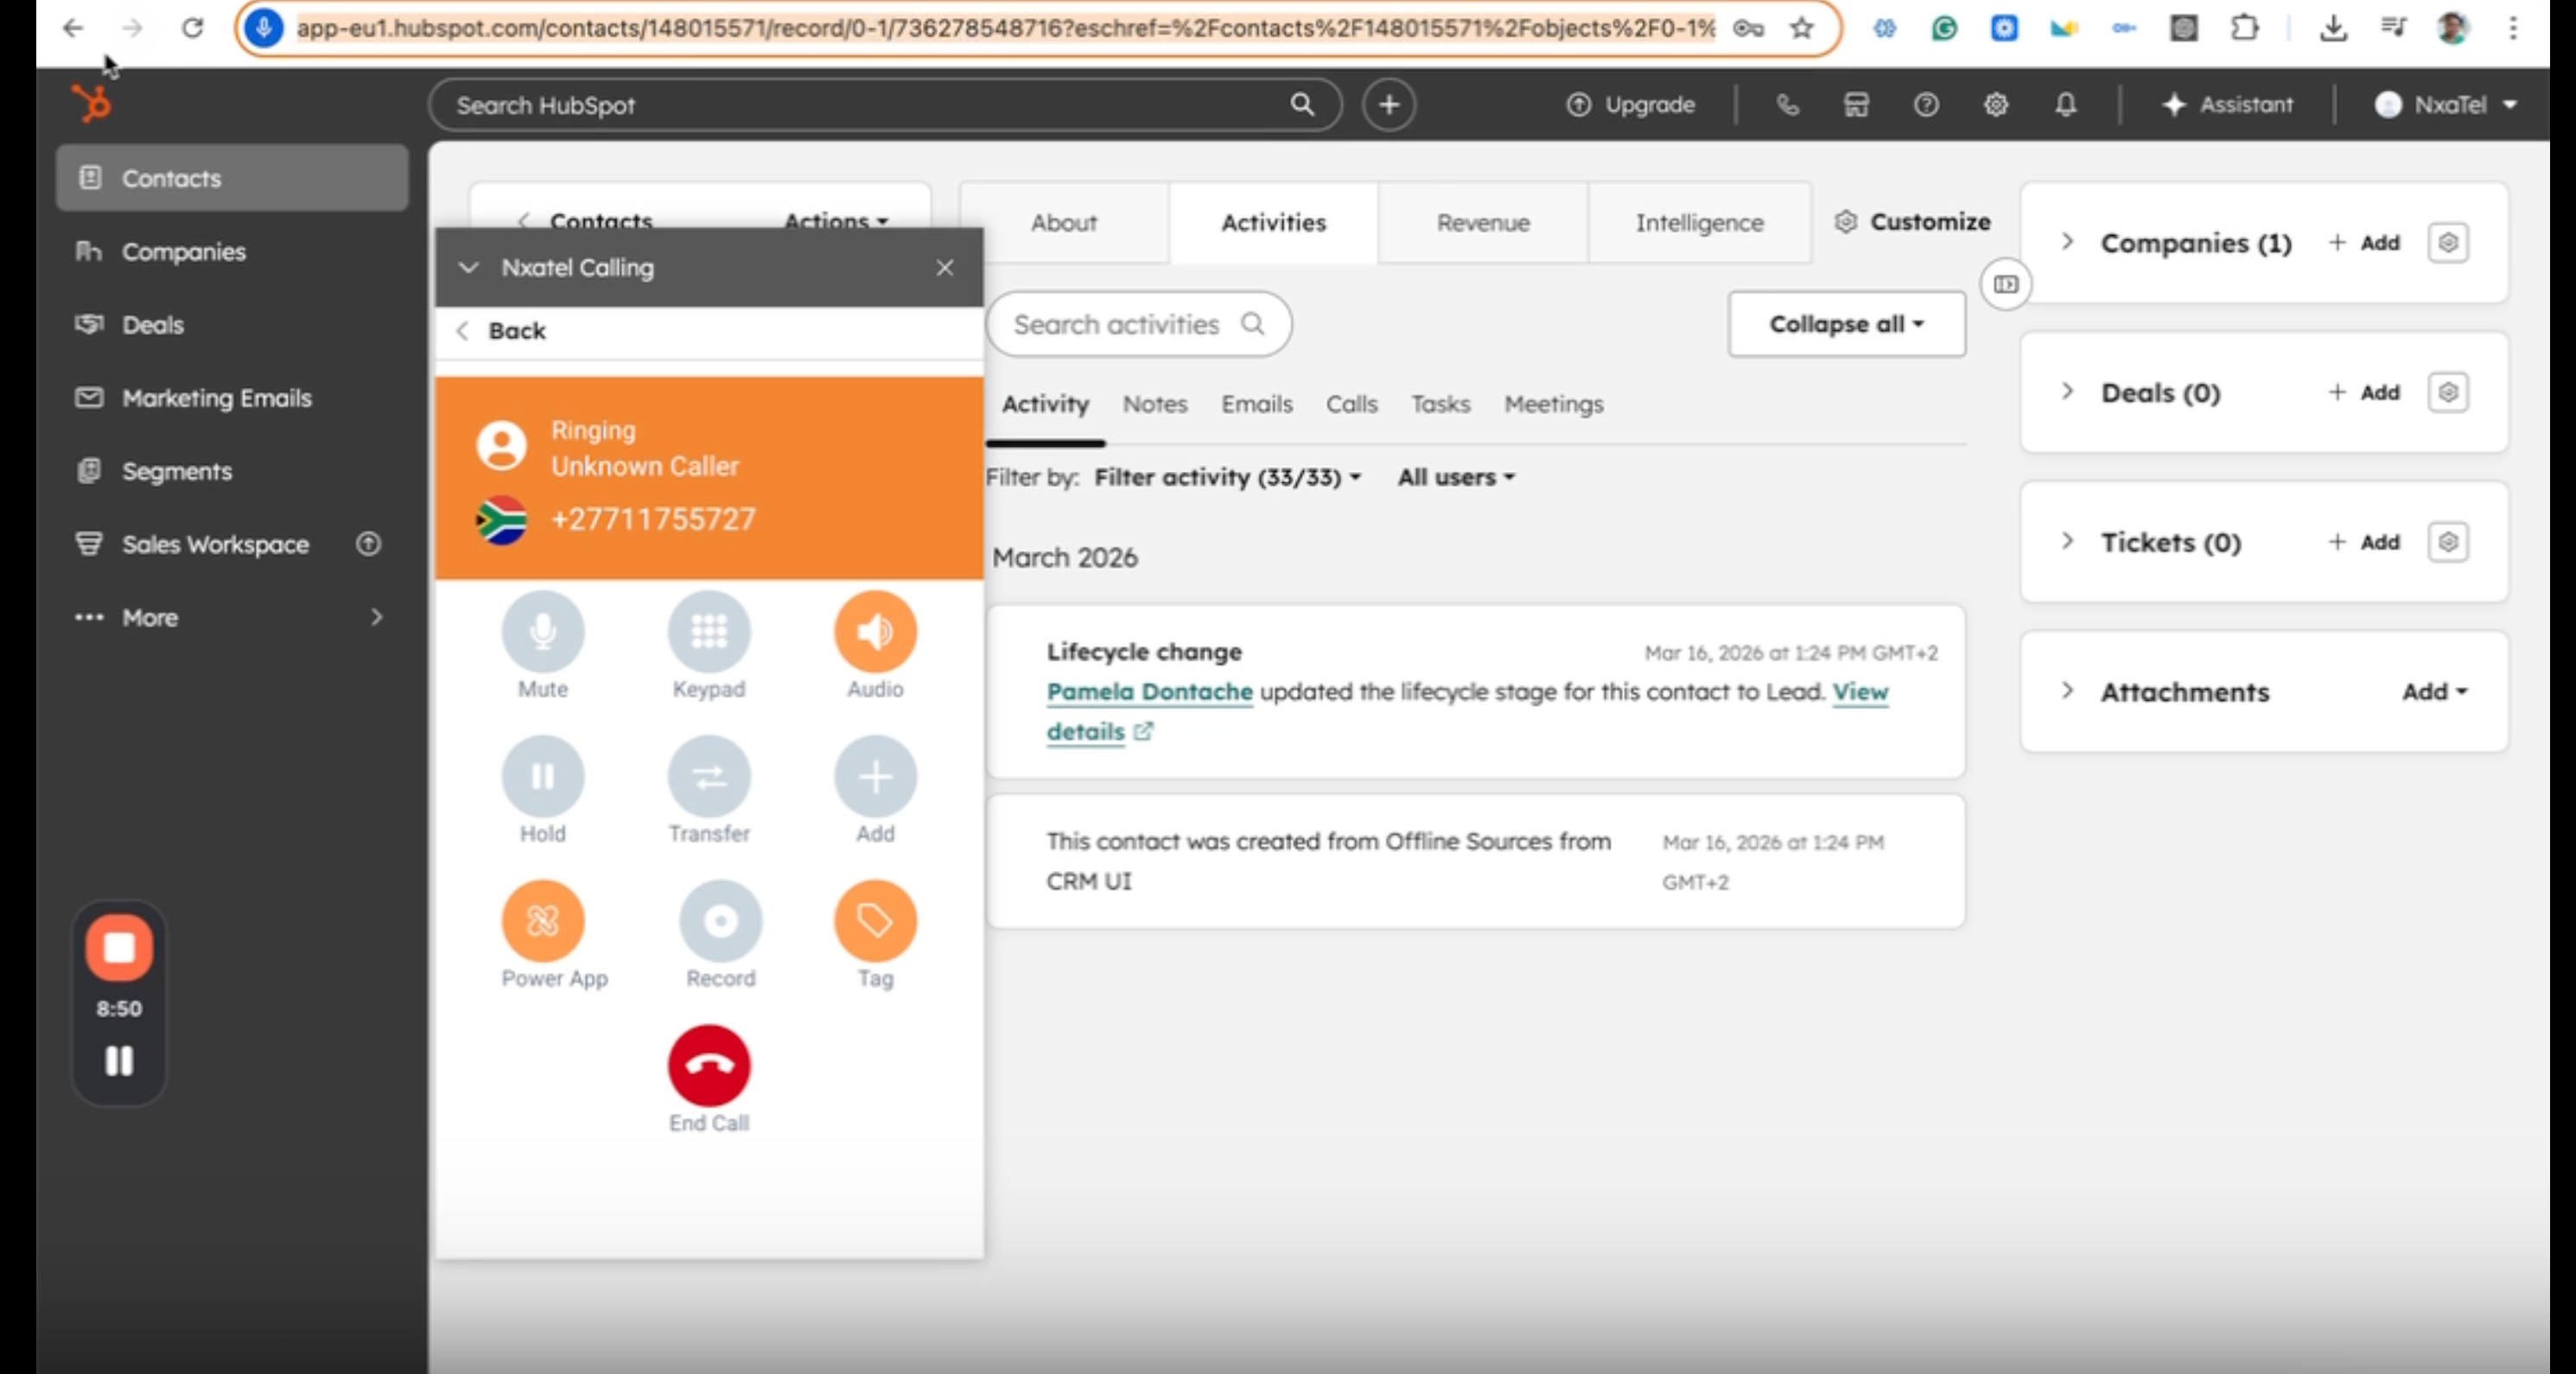

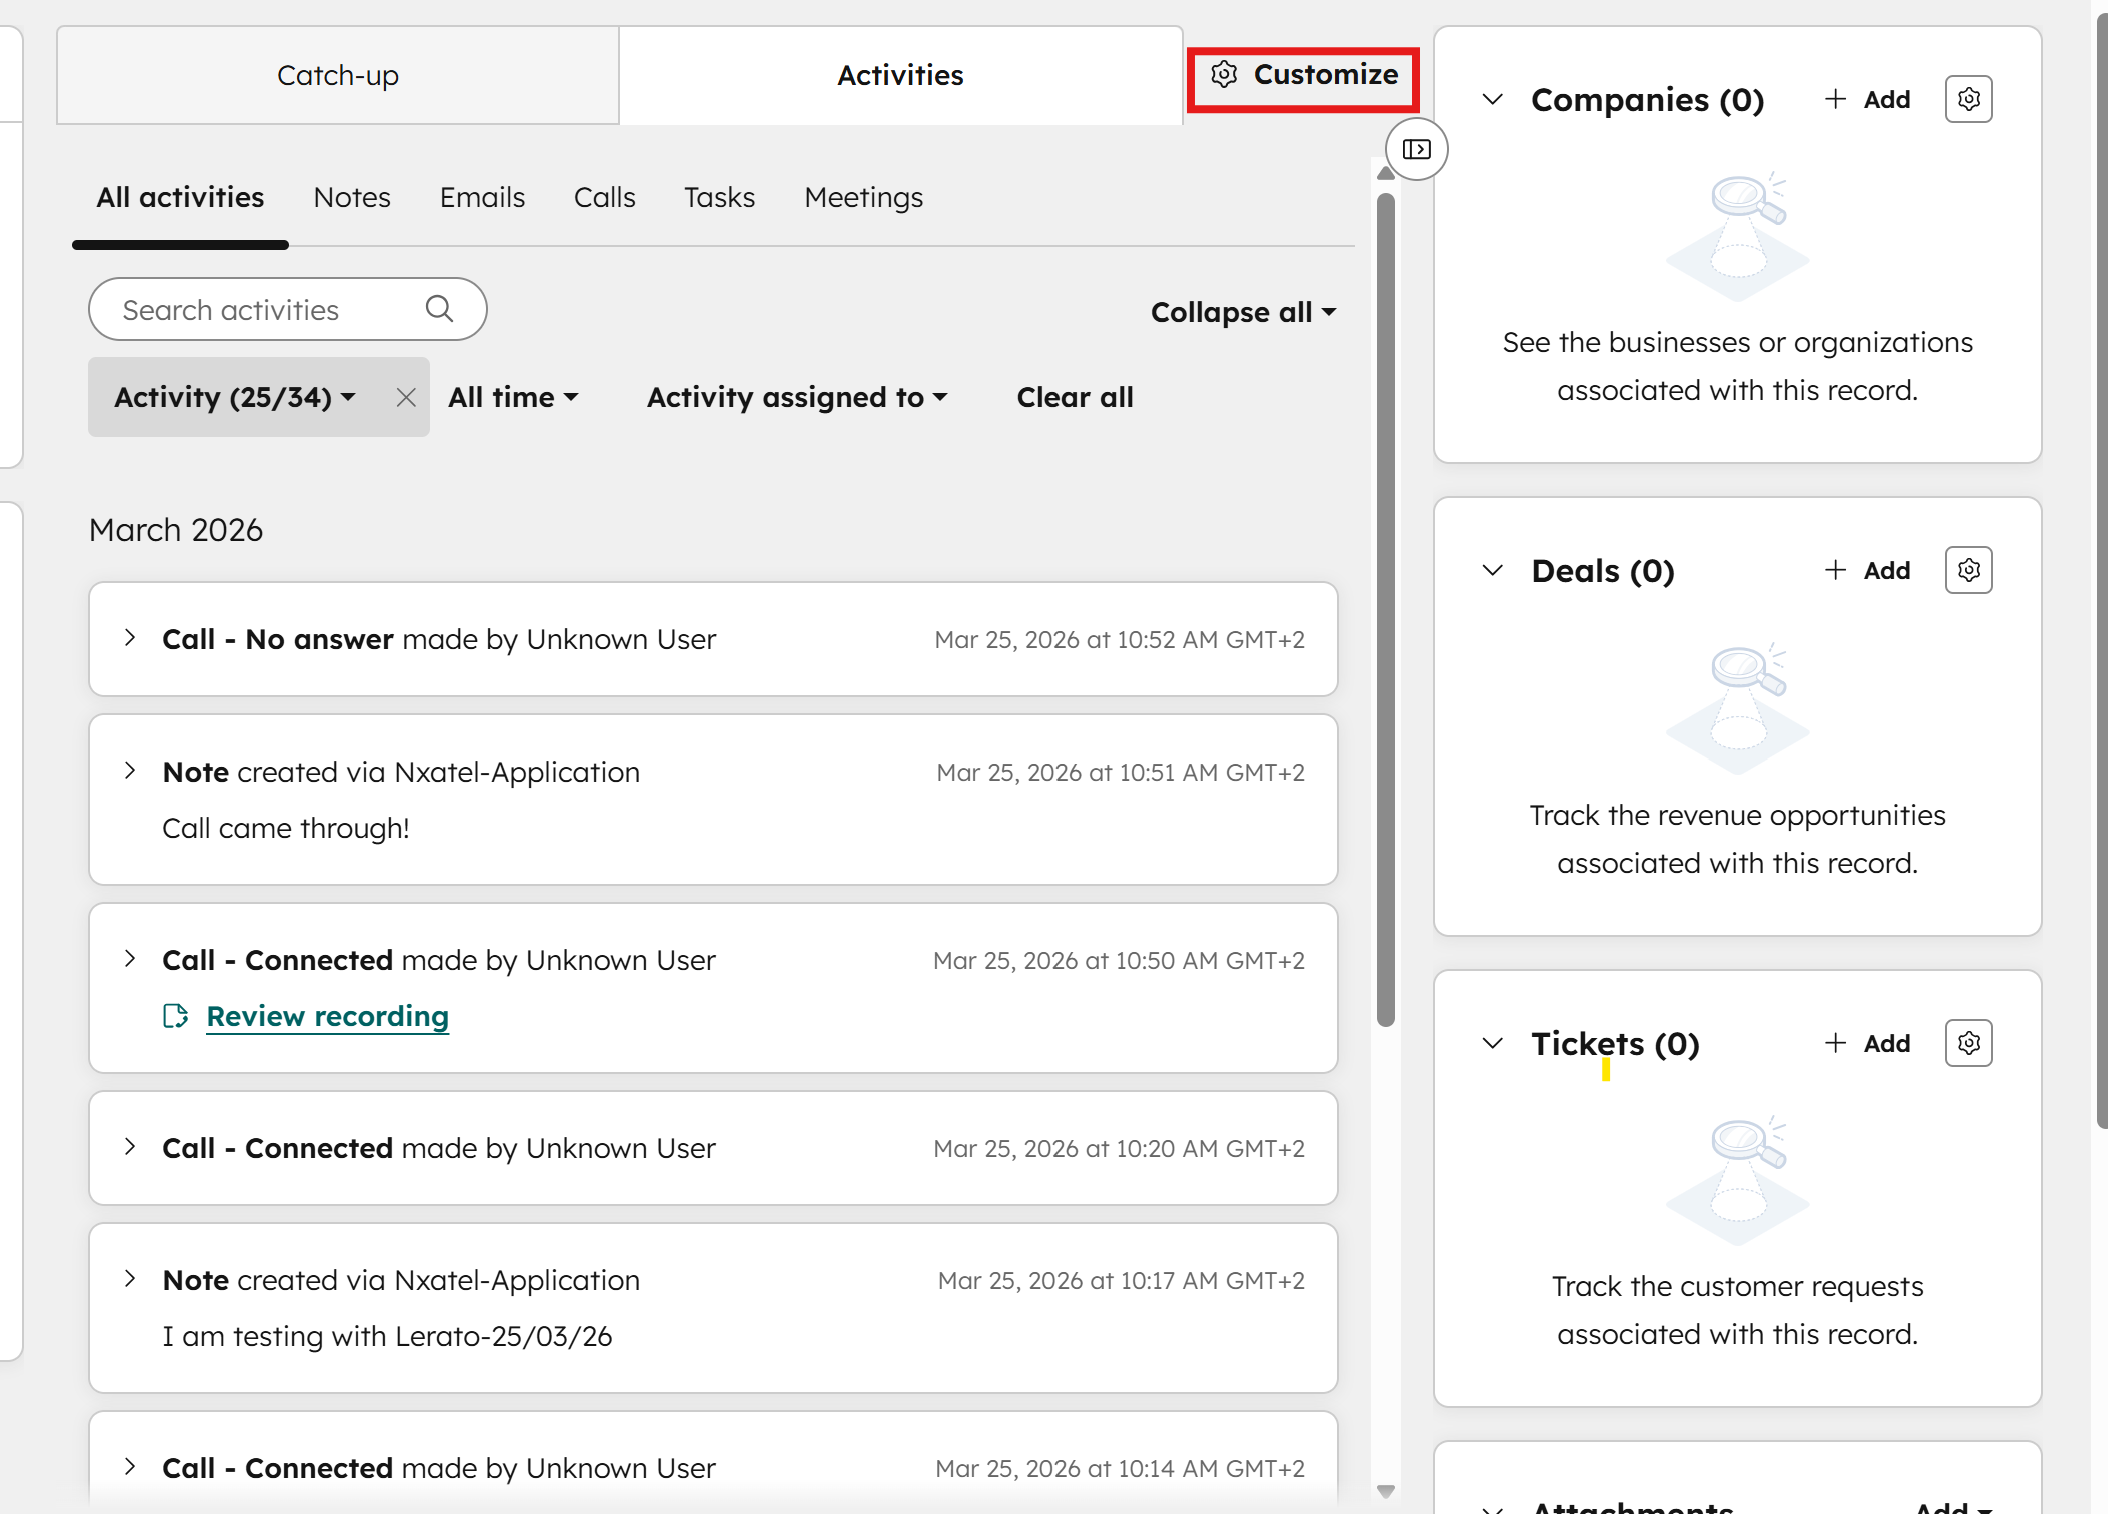
Validate Call Activity
Confirm that call logs are appearing on the HubSpot contact timeline.
- 1Open a contact record in HubSpot
- 2Click Make a Call via the NxaTel dialler
- 3Complete the call
- 4Check the HubSpot Activity Timeline
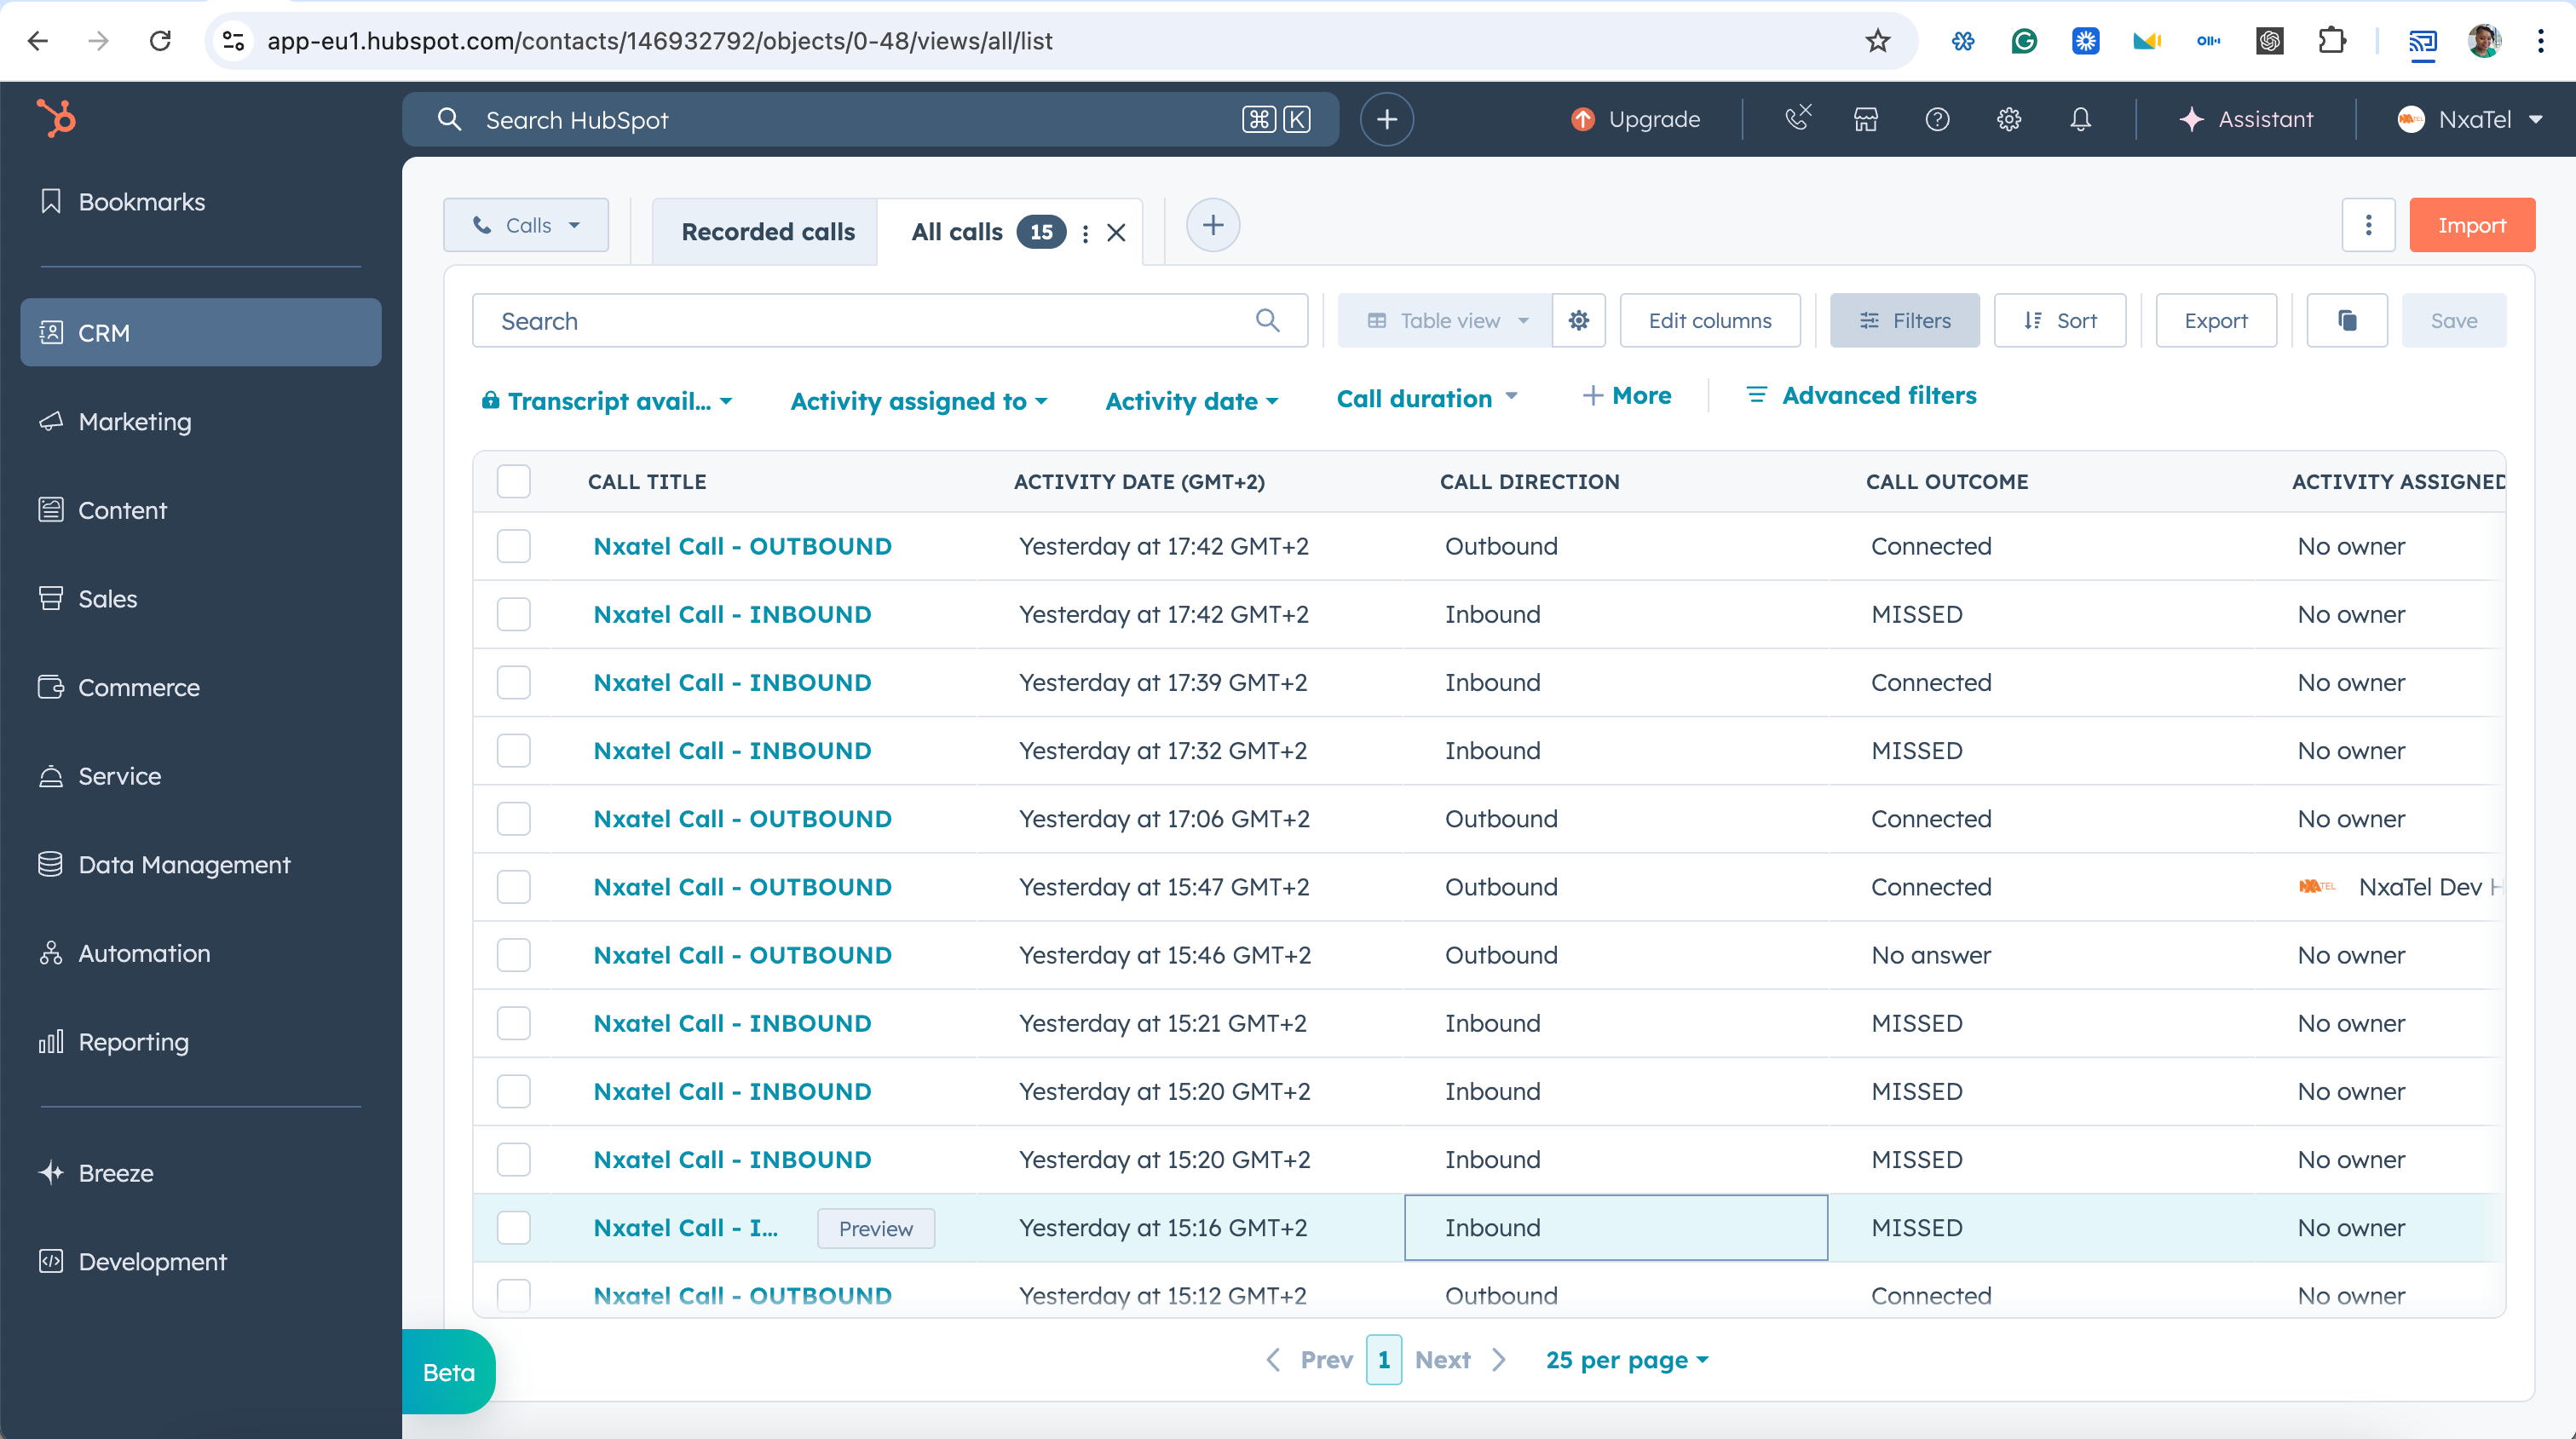
Validation Checklist
- Call log entry appears
- Call duration is recorded
- Notes can be added to the log
- Recording link is available (if enabled)
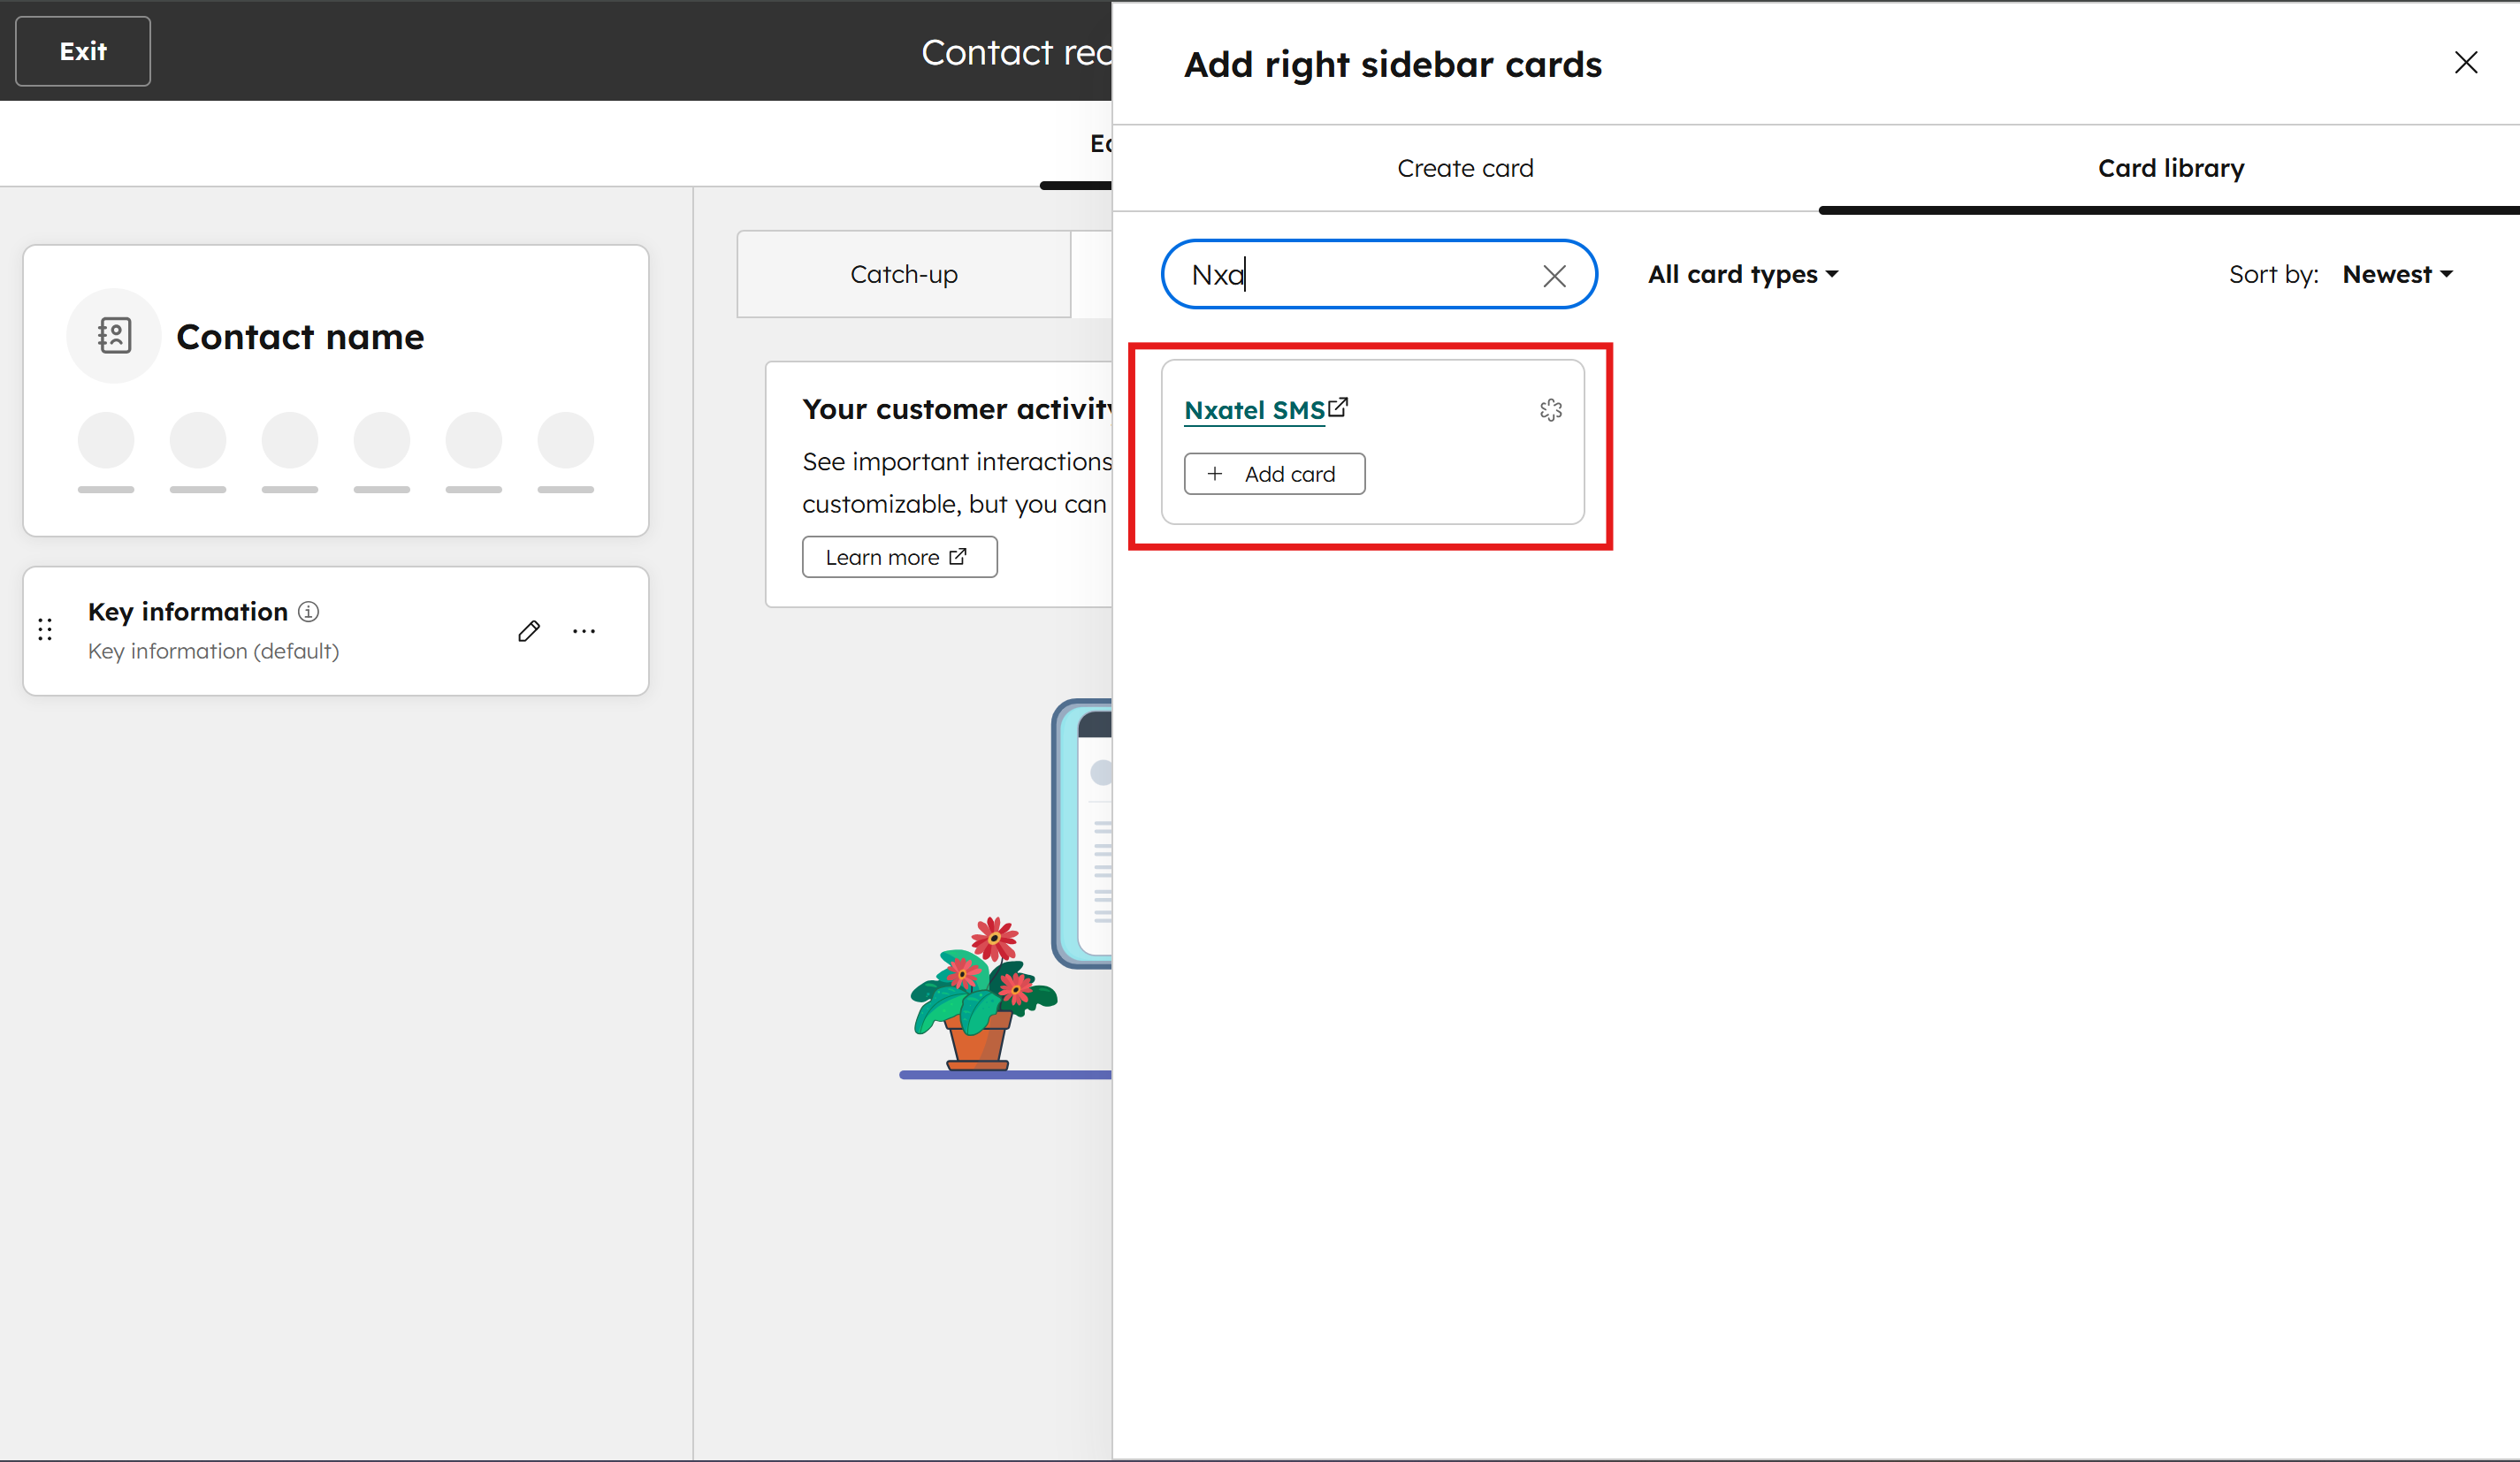
Add SMS card
Add the SMS card to start sending messages
- 1Head to customize
- 2Select default view and type "Nxa" to search for SMS card
- 3Click add and select the Nxa SMS card
- 4Click save and exit
- 5Send SMS
What Happens After Setup
Your integration is live — here is what to expect going forward.
NxaTel handles:
- All voice & SMS communication
- Call recording & voicemail
- Number routing & IVR
HubSpot handles:
- CRM contact management
- Activity timeline logging
- Sales reporting & analytics
All interactions sync automatically. No manual data entry needed. Monitor regularly to ensure sync is healthy.
Common Setup Issues
If something isn't working as expected, check these common issues and resolutions.
Missing call logs
Check that contact mapping is correct and all required fields are matched.
SMS not appearing
Ensure SMS logging is enabled in Workflow Settings and the filter is on in HubSpot.
Contacts not syncing
Confirm users are assigned and selected numbers are linked to the integration.
Activity logging disabled
Return to Workflow Settings and enable all relevant activity types.
No numbers assigned
Go to Step 8 and assign at least one NxaTel number to the integration.
Authorization failure
Ensure you have Super Admin access in HubSpot before attempting to connect.
Best Practices
Follow these recommendations to get the most out of your NxaTel + HubSpot integration.
Always test after setup
Create a test contact and make a test call to confirm sync and activity logging work correctly.
Keep field mapping consistent
Ensure NxaTel and HubSpot fields are mapped accurately. Incorrect mapping causes data issues.
Enable full activity logging
Turn on all workflow toggles so calls, SMS, voicemails, and unknown numbers are tracked.
Assign correct numbers and users
Only selected numbers and users are synced. Review these settings when adding new team members.
Monitor syncing regularly
Periodically check that contacts and activities are appearing in both systems as expected.
Your Integration is Ready
HubSpot is now your CRM and NxaTel is your communication engine — fully connected and working together.
Calls are logged automatically. Contacts sync in real time. SMS is tracked in your CRM. You have full activity visibility.